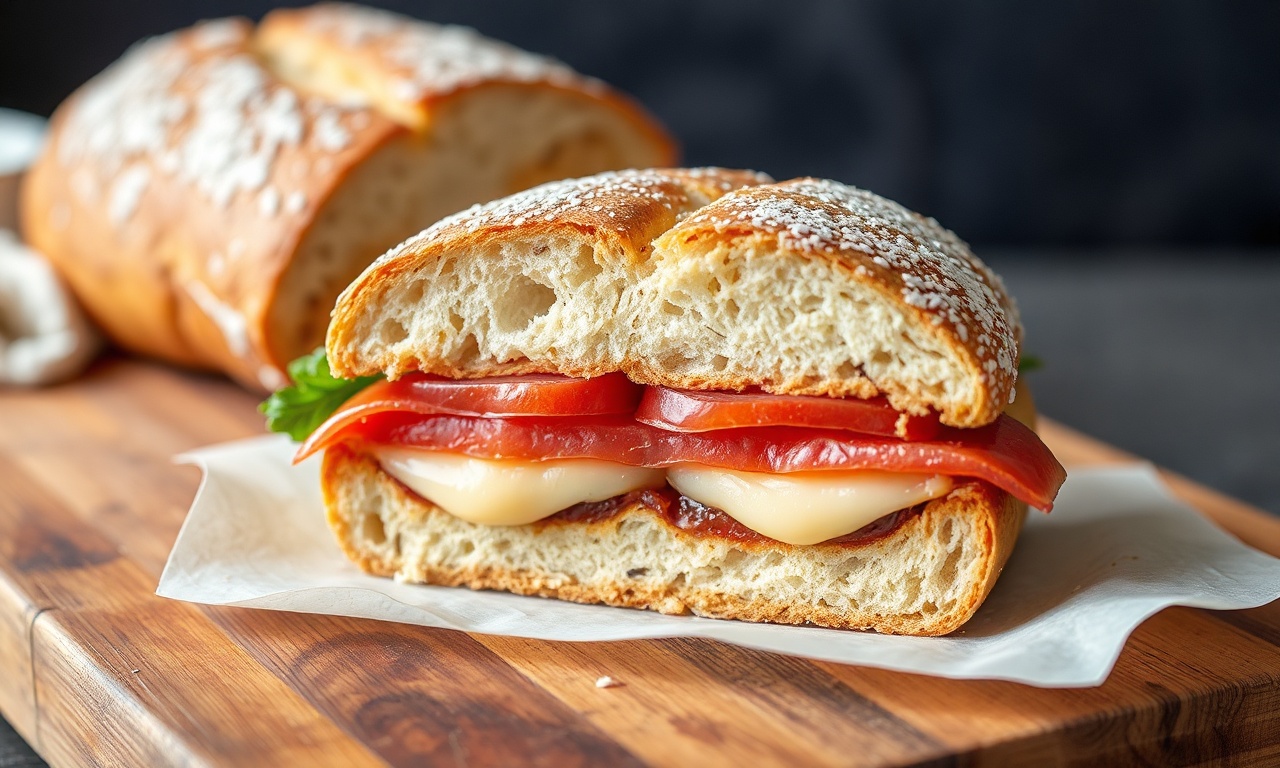
The Quest for the Perfect GF Sandwich Loaf
The aroma of freshly baked bread is an almost primal comfort, a sensory anchor to home and hearth. For those handling the challenges of a gluten-free diet, however, this simple pleasure can often feel like a distant dream. The quest for a GF sandwich bread that truly rivals its gluten-containing counterpart—one that is soft, pliable, holds its structure, and toasts beautifully—has long been a source of frustration for home bakers and a challenge for the food industry.
- The Quest for the Perfect GF Sandwich Loaf
- Understanding the Gluten-Free Conundrum
- The Art of the Gluten-Free Flour Blend
- The Hydration and Mixing Technique: Beyond the Basic Whisk
- The Crucial Role of Fermentation and Proofing
- Baking to Perfection: Temperature, Steam, and Cooling
- Expert Pro-Tips for Elevated GF Sandwich Bread
- Nutritional Snapshot: A Healthier Alternative
- The Future of GF Sandwich Bread
- Frequently Asked Questions
Many store-bought options suffer from a gritty texture, an overly dense crumb, or a flavor profile that screams “compromise.” This guide demystifies the art and science behind creating exceptional GF sandwich bread, moving beyond generic recipes to offer a professional approach grounded in culinary expertise and a deep understanding of gluten-free flour mechanics. We will explore the critical components, the subtle nuances of technique, and the insider secrets that transform a potentially disappointing bake into a triumph.
Key Takeaways:
- Mastering GF sandwich bread hinges on a precise understanding of flour blends and hydrocolloids for structure and moisture.
- An adapted ‘autolyse’ method for GF flours can significantly improve crumb texture and extensibility.
- Proper fermentation and baking temperatures are crucial for developing flavor and achieving an ideal crust without sacrificing interior softness.
Understanding the Gluten-Free Conundrum
When it comes to GF sandwich, Gluten, the complex protein network formed when wheat flour is hydrated and agitated, is the cornerstone of traditional bread structure. It provides elasticity, allowing dough to expand and trap gases produced by yeast, resulting in a light, airy crumb. It also contributes to the chewy texture and the satisfying “mouthfeel” we associate with good bread. In gluten-free baking, the absence of gluten necessitates a complete rethinking of structure and texture. Without gluten, flours alone cannot form the necessary matrix to capture air and maintain shape. This is where a strategic combination of alternative flours, starches, and binding agents becomes paramount.
In the context of GF sandwich, The challenge is not merely replacing wheat flour but replicating its multifaceted functional properties. GF flour blends often rely on a mix of finely ground grains (like rice, sorghum, millet), pseudocereals (like buckwheat, quinoa), and starches (like tapioca, potato, cornstarch). Each ingredient contributes uniquely: rice flour provides bulk, sorghum and millet offer a neutral flavor and good crumb, while starches contribute to tenderness and a lighter texture. However, without gluten, these ingredients can lead to crumbly, dry, or gummy results if not balanced correctly.
The Art of the Gluten-Free Flour Blend
A successful GF sandwich bread begins with a meticulously crafted flour blend. Generic “all-purpose” gluten-free blends are often insufficient for the demands of a yeasted loaf. Professional bakers understand that a balanced blend should aim to mimic the properties of wheat flour as closely as possible. This typically involves a careful ratio of low-protein flours and starches to provide structure and tenderness, respectively.
A common starting point for an excellent GF sandwich bread blend might include:
- Brown Rice Flour: A staple for its neutral flavor and moderate protein content, providing bulk and a pleasant chew.
- Sorghum Flour: Offers a slightly sweet, mild flavor and contributes to a tender crumb. It’s rich in antioxidants.
- Tapioca Starch: Crucial for providing elasticity and a slightly chewy texture, preventing the bread from being too brittle.
- Potato Starch: Contributes to a softer crumb and helps retain moisture, enhancing the bread’s overall palatability.
- Psyllium Husk (or Xanthan Gum): This is where the magic happens. Psyllium husk, in particular, is a dietary fiber that absorbs significant amounts of water, forming a gel-like substance. This gel mimics gluten’s binding and elastic properties, providing the essential structure and pliability needed for a sandwich loaf. Research suggests the role of hydrocolloids like psyllium husk in improving the rheological properties of gluten-free doughs, making them more extensible and less prone to collapse during baking.
Around GF sandwich, The ratio is critical. A common guideline is approximately 60-70% whole grain flours and 30-40% starches and binders. For instance, a blend might consist of 1.5 cups brown rice flour, 1 cup sorghum flour, 1 cup tapioca starch, and 0.5 cup potato starch, along with 2-3 tablespoons of psyllium husk. The psyllium husk is typically activated by whisking it into the dry ingredients, ensuring even distribution before hydration.
Regarding GF sandwich, 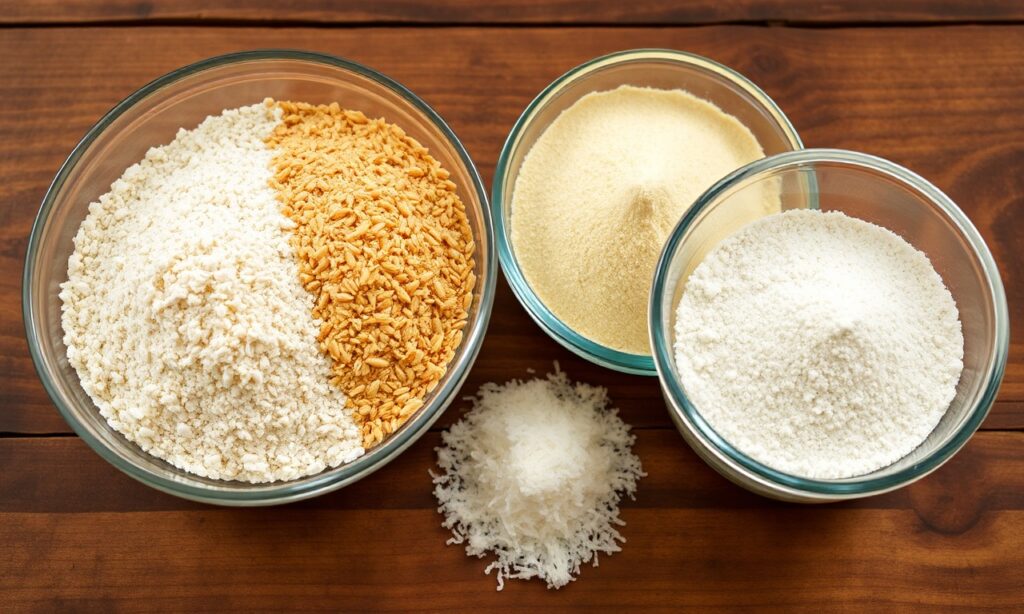
The Hydration and Mixing Technique: Beyond the Basic Whisk
When it comes to GF sandwich, The way GF flour blends are hydrated and mixed is fundamentally different from traditional wheat bread. The goal is to hydrate the flours and starches thoroughly to activate binders and achieve the desired dough consistency. GF doughs are often wetter and stickier than wheat doughs, more akin to a thick batter. This higher hydration is necessary to prevent the bread from drying out during baking and to facilitate the gelling action of hydrocolloids.
A technique that can significantly enhance the texture of GF sandwich bread is an adapted form of “autolyse.” In traditional baking, autolyse involves mixing flour and water and letting it rest before adding salt and yeast. This allows enzymes to break down starches and proteins, improving dough extensibility. For GF flours, a similar principle can be applied: whisking the flour blend with *most* of the liquid and allowing it to rest for 20-30 minutes. This rest period allows the psyllium husk (or xanthan gum) to fully hydrate and begin forming its gel, creating a more cohesive and pliable base.
In the context of GF sandwich, When it comes to mixing, a stand mixer with a paddle attachment is often preferred over a dough hook. The goal is not to develop gluten (as there is none) but to thoroughly combine ingredients and create a smooth, homogenous batter. Over-mixing can actually be detrimental if it leads to excessive heat, which can degrade the starches. Gentle, consistent mixing until the batter is uniform and slightly elastic is key.
The Crucial Role of Fermentation and Proofing
Yeast is still vital in GF sandwich bread, not just for leavening but for flavor development. The fermentation process allows yeast to consume sugars and produce carbon dioxide gas and alcohol. In GF bread, the structure is primarily provided by the binders, so the yeast’s role shifts more towards contributing flavor complexity and aiding in creating a lighter crumb by expanding the gelled matrix.
Around GF sandwich, The proofing environment for GF bread is also important. Because GF doughs are often softer and less structured, they can be more sensitive to temperature fluctuations. A warm, draft-free environment, typically around 75-80°F (24-27°C), is ideal for proofing. The dough will rise, but it won’t double in size as dramatically as wheat bread. Instead, look for a noticeable puffiness and a slightly rounded surface. Over-proofing can lead to a collapsed loaf, as the delicate structure may not be able to support the gas.
The Autolyse-Adapted GF Method
Regarding GF sandwich, This method offers a tangible improvement in GF bread texture and is a cornerstone of professional GF baking.
- Combine Dry Ingredients: In the bowl of a stand mixer, whisk together your carefully measured GF flour blend, psyllium husk, sugar, and salt. Ensure everything is thoroughly combined to prevent clumping.
- Initial Hydration (Partial Autolyse): Add about 80% of the total liquid (water or milk) to the dry ingredients. Mix on low speed until just combined into a shaggy mass.
- Resting Period: Cover the bowl and let the mixture rest for 20-30 minutes. This allows the psyllium husk to hydrate and form its gel, creating a more cohesive base.
- Add Yeast and Remaining Liquid: In a small bowl, proof the yeast with a pinch of sugar and a bit of warm liquid. Once foamy, add it to the rested flour mixture. Add the remaining liquid gradually while mixing on low speed.
- Develop the Dough: Increase the mixer speed to medium-low and mix for 5-7 minutes. The dough should become smooth, elastic, and thick, resembling a very thick batter or soft cookie dough. It will be sticky.
- First Rise (Bulk Fermentation): Transfer the dough to a lightly oiled loaf pan, smoothing the top with a wet spatula or your wet hands. Cover loosely and let it rise in a warm place for approximately 45-60 minutes, or until noticeably puffy.
- Second Rise (Proofing): Once the dough has risen, gently cover it again and allow it to proof for another 30-45 minutes, or until it has increased in volume and the surface appears domed and slightly rounded.
When it comes to GF sandwich, 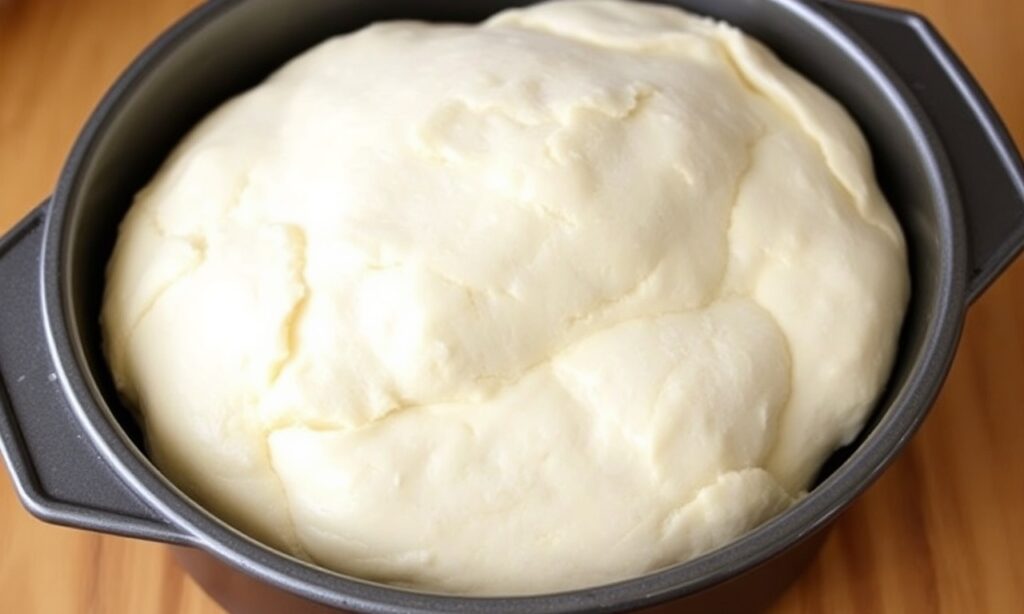
Baking to Perfection: Temperature, Steam, and Cooling
In the context of GF sandwich, The baking process is critical for achieving that desirable golden-brown crust and ensuring the interior is fully cooked without becoming dry.
Optimal Baking Parameters
- Preheating is Key: Ensure your oven is fully preheated to the specified temperature, usually around 375°F (190°C). A properly preheated oven helps the loaf set quickly, preventing excessive spreading.
- Steam for Crust Development: Introducing steam in the first 15-20 minutes of baking can significantly improve crust texture and oven spring. This can be achieved by placing a shallow pan of hot water on the bottom rack of the oven as it preheats, or by misting the oven walls with water immediately before placing the bread inside. This moisture keeps the surface of the loaf pliable for longer, allowing it to expand more fully before the crust hardens.
- Baking Time: A standard 1lb loaf typically bakes for 40-50 minutes. The bread is done when it has a deep golden-brown crust and an internal temperature of 205-210°F (96-99°C) when tested with an instant-read thermometer.
- Cooling is Non-Negotiable: This is perhaps the most overlooked yet critical step. Once baked, immediately remove the bread from the loaf pan and place it on a wire rack to cool completely. Cutting into GF bread while it’s still warm can result in a gummy, dense interior. The cooling process allows the starches to set and the internal structure to stabilize. Patience here is a virtue that will be rewarded.
The science behind this is that during baking, starches gelatinize and proteins coagulate, setting the structure. However, residual moisture needs to evaporate, and the internal structure needs to firm up. Cutting too early disrupts this process, leading to that unpleasant gummy texture often associated with undercooked or improperly cooled GF bread. Research suggests that cooling time significantly impacts the textural properties of gluten-free baked goods, with longer cooling periods generally leading to improved firmness and reduced gumminess.
Expert Pro-Tips for Elevated GF Sandwich Bread
Achieving consistently excellent GF sandwich bread involves attention to detail and a few insider tricks.
Troubleshooting Common GF Bread Issues
- Gummy Interior: This is often a result of insufficient baking time, cutting the bread too soon, or an imbalance in the flour blend (too much starch). Ensure the internal temperature reaches at least 205°F (96°C) and let it cool completely.
- Crumbly Texture: Usually caused by not enough binder (psyllium husk/xanthan gum) or insufficient hydration. Double-check your binder quantity and ensure your dough is sufficiently wet.
- Dense Loaf: This can stem from over-proofing, under-proofing, or a flour blend that’s too heavy on whole grains without enough starch. Precise proofing and a balanced blend are key.
- Cracked Top: While a bit of cracking can indicate good oven spring, excessive cracking might mean the dough dried out too quickly during proofing or baking. Ensure proper covering during proofing and consider steam in the oven.
The type of psyllium husk also matters. Whole psyllium husks absorb more liquid than powdered versions. If you’re using powdered psyllium, you might need slightly less, or if using whole husks and the dough seems too dry, add a tablespoon or two of water at a time. Always aim for a thick, viscous batter consistency.
Nutritional Snapshot: A Healthier Alternative
While GF bread is a necessity for those with celiac disease or gluten sensitivity, it can also be a good choice for those looking to diversify their grain intake. Depending on the flour blend, GF bread can be a good source of fiber, particularly if using whole grain flours like brown rice, sorghum, and psyllium husk. For instance, psyllium husk is a soluble fiber known for its potential benefits in digestive health and blood sugar management. A typical slice of homemade GF sandwich bread, depending on the exact ingredients, might offer around 100-150 calories, 2-4 grams of protein, 1-3 grams of fiber, and a moderate amount of carbohydrates.
It’s crucial to check individual ingredient labels for specific nutritional data, especially for store-bought blends which can vary significantly in sugar and sodium content.
The Future of GF Sandwich Bread
The landscape of gluten-free baking is constantly evolving. Researchers are exploring novel ingredients and techniques, such as the use of fermented GF flours, pre-gelatinized starches, and advanced hydrocolloid systems, to further enhance texture, flavor, and shelf life. Advances in understanding the complex interactions between different GF ingredients are leading to more predictable and delicious results. For the home baker, this means an ever-expanding toolkit for creating GF breads that are not just tolerable, but genuinely enjoyable and indistinguishable from their gluten-containing counterparts. The journey of GF sandwich bread demystification is ongoing, promising even greater culinary satisfaction for all.
Frequently Asked Questions
What is the best type of flour for GF sandwich bread?
The “best” flour is actually a blend. A combination of neutral-flavored whole grain flours like brown rice and sorghum, starches like tapioca and potato starch, and a powerful binder like psyllium husk is essential for achieving a good texture, structure, and moisture content in GF sandwich bread.
Why is GF bread often gummy?
Gummy GF bread typically results from insufficient baking time, cutting the loaf while it’s still too warm, or an imbalanced flour blend that doesn’t have enough structure. Allowing the bread to cool completely on a wire rack is critical for the internal structure to set properly.
Can I use xanthan gum instead of psyllium husk?
Yes, xanthan gum can be used, but psyllium husk generally yields superior results for sandwich bread in terms of elasticity, moisture retention, and a less “gummy” texture. If substituting, use about half the amount of psyllium husk as xanthan gum, as xanthan gum is a more potent binder.
How can I make GF sandwich bread softer?
For a softer crumb, ensure adequate hydration in your dough, use a blend that includes sufficient starches, and consider adding a small amount of cooked, mashed potato or a bit of oil or butter to the dough. Proper cooling is also paramount for a soft texture.
What is the best temperature for proofing GF bread?
The ideal temperature for proofing GF bread is around 75-80°F (24-27°C). This warm, consistent temperature allows the yeast to work effectively without overheating or drying out the delicate GF dough.
See also: GF sandwich


