Has the pursuit of that elusive, perfectly golden, shatteringly crisp Parmesan crusted chicken ever left you feeling like a culinary alchemist, constantly chasing an elusive formula? It’s a dish that, in its simplicity, belies a surprising depth of technique, a subtle dance between heat, moisture, and the magical properties of aged cheese. Achieving that flawless exterior, proof of both culinary artistry and scientific understanding, is more than just a matter of following steps; it’s about comprehending the fundamental principles that transform humble ingredients into a symphony of textures and flavors.
- Understanding the Science Behind the Perfect Crust
- Mastering the Chicken Preparation
- The Art of the Breading Process
- Cooking Techniques: The Path to Golden Perfection
- Elevating Your Parmesan Crusted Chicken: Expert Tips and Tricks
- The Double Dredge for Extra Thickness
- Incorporating Herbs and Spices
- The Broiler Boost
- Resting is Crucial
- Nutritional Information (Approximate Per Serving – 6 oz Chicken Breast)
- Frequently Asked Questions
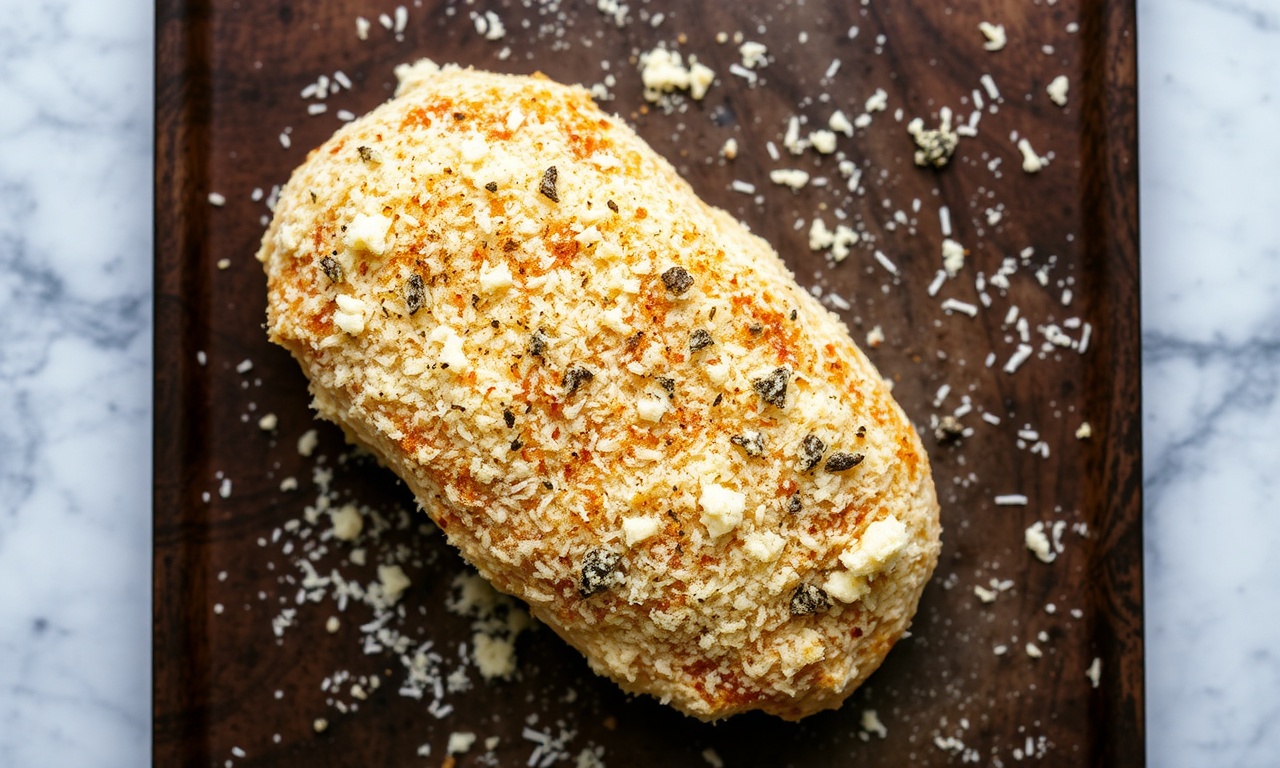
The true magic of Parmesan crusted chicken lies not just in the crunch, but in the way the cheese, when expertly applied and cooked, forms a brittle, savory shell that locks in moisture and amplifies flavor. It’s a culinary alchemy that transforms the ordinary into the extraordinary.
This guide will explore the science and art behind achieving that coveted Parmesan crust, drawing on professional kitchen experience and an understanding of ingredient interactions. We’ll move beyond generic advice to explore the specific factors that contribute to success, from selecting the right chicken and cheese to mastering the critical cooking stages. Prepare to elevate your Parmesan crusted chicken from a weeknight staple to a show-stopping culinary creation.
Understanding the Science Behind the Perfect Crust
The foundation of an exceptional Parmesan crust is a harmonious interplay of ingredients and heat. At its core, the crust is formed through a process of browning and caramelization, driven by the Maillard reaction, a complex chemical process that occurs when amino acids and reducing sugars interact at high temperatures. Parmesan cheese, with its high protein and fat content, is particularly adept at this. The aged nature of good quality Parmesan means much of its moisture has been evaporated, concentrating its flavor and rendering it more prone to crisping rather than melting into a greasy mess.
When Parmesan is heated, its proteins denature and its fats render. This rendered fat, combined with the browning sugars within the cheese, creates a delicious, crispy matrix. However, this process is delicate. Too much heat too quickly, and the cheese can burn before it crisps. Too little heat, and it will simply melt into a soft, unappealing layer. Furthermore, the presence of moisture is a double-edged sword. While a little moisture helps the cheese adhere, too much can steam the chicken and prevent the crust from achieving its full potential crispness. Studies in food science have highlighted that surface moisture content is a critical factor in achieving optimal crispness in fried and baked goods. Research indicates that the rate of moisture evaporation significantly impacts the final texture.
The Role of Cheese Quality and Grind
The type of Parmesan cheese you use is paramount. Authentic Parmigiano-Reggiano, with its granular texture and intense nutty, salty flavor, is the gold standard. Its low moisture content (typically around 30% or less) and high fat content (around 28%) make it ideal for creating a crisp crust. Pre-shredded Parmesan, often coated with anti-caking agents like cellulose, can hinder proper browning and crisping. These additives can create a barrier, preventing the cheese from melting and fusing effectively.
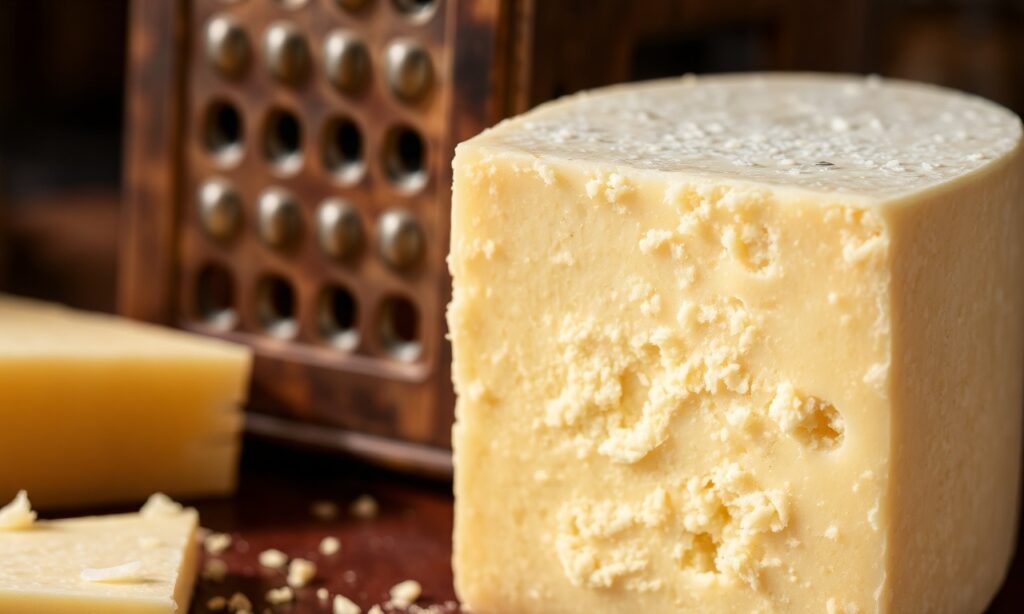
The grind of the cheese also plays a critical role. For a truly polished crust, a medium to fine grind is often preferred. A very coarse grind can lead to uneven cooking, with some pieces burning while others remain unmelted. A fine grind, on the other hand, can adhere more evenly, creating a more cohesive and consistent crust. However, some chefs advocate for a mix of grinds – a finer grind for adherence and a slightly coarser grind for textural variation and visual appeal. Experimentation with your preferred texture is key.
Mastering the Chicken Preparation
Before the cheese even enters the picture, the chicken itself must be prepared for success. The choice of chicken cut influences both cooking time and moisture content. Boneless, skinless chicken breasts or thighs are common choices. Thighs, with their higher fat content, tend to be more forgiving and remain moister, which can be beneficial when aiming for a crisp crust without overcooking the meat. Breasts, while leaner, can dry out quickly if not handled with care.
Proper pounding of chicken breasts to an even thickness is crucial. This ensures that the chicken cooks uniformly, preventing the thinner parts from drying out while the thicker parts are still raw. A meat mallet or the bottom of a heavy pan can be used for this. Aim for a thickness of about ½ to ¾ inch.
The Importance of Drying the Chicken
One of the most overlooked yet critical steps in achieving a crispy crust is thoroughly drying the chicken. Moisture is the enemy of crispiness. After washing (if you choose to wash your chicken, though many chefs skip this step due to cross-contamination risks) and before breading, pat the chicken pieces *exceptionally* dry with paper towels. Excess surface moisture will create steam during cooking, preventing the crust from browning properly and potentially leading to a soggy exterior. This step is non-negotiable for that perfectly polished finish.
The Art of the Breading Process
The traditional breading process for Parmesan crusted chicken involves a three-stage dredge: flour, egg wash, and then the breadcrumb/Parmesan mixture. Each stage serves a vital purpose.
The first stage, the flour dredge, provides a dry surface for the egg wash to adhere to and helps to absorb any residual moisture from the chicken. Seasoning the flour with salt, pepper, and perhaps a touch of garlic powder or paprika can infuse flavor deeper into the crust.
The second stage, the egg wash, acts as the glue. A simple mixture of beaten eggs with a splash of milk or water is standard. The protein in the egg coagulates when heated, binding the breadcrumbs and Parmesan to the chicken. Some chefs add a pinch of Dijon mustard to the egg wash for an extra layer of flavor and to aid in emulsification.
The final stage is where the magic happens – the breadcrumb and Parmesan mixture. This is where you’ll combine your grated Parmesan with breadcrumbs. Panko breadcrumbs, with their airy, flaky texture, are a superior choice for achieving a lighter, crispier crust compared to traditional fine breadcrumbs. They absorb less oil and provide a more pronounced crunch. A ratio of roughly 50/50 Parmesan to Panko is a good starting point, but this can be adjusted to your preference. Again, seasoning this mixture is key – don’t be shy with salt, pepper, and dried herbs like oregano or parsley.
Cooking Techniques: The Path to Golden Perfection
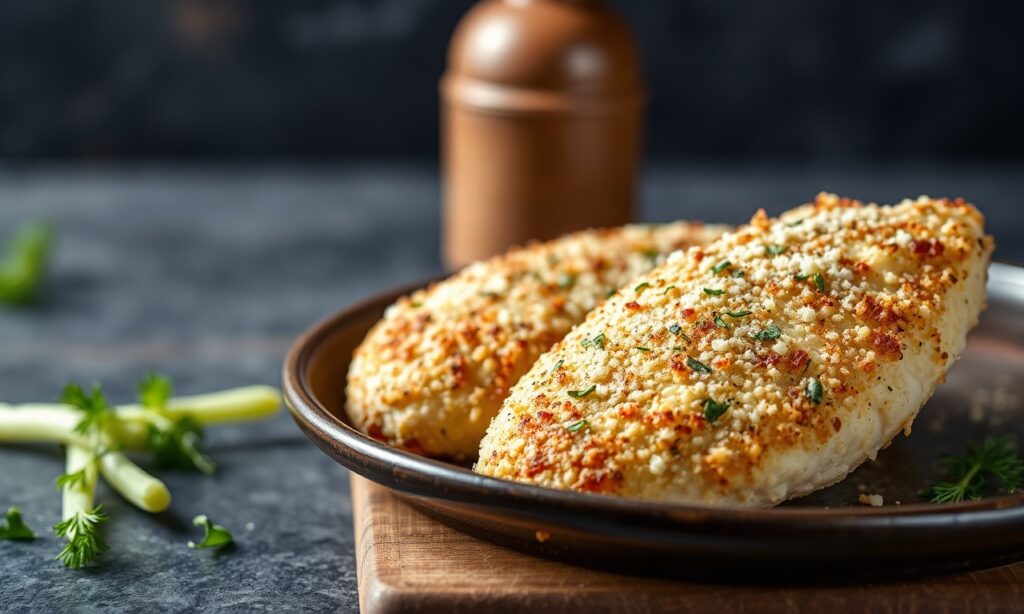
The cooking method you choose will significantly impact the final outcome of your Parmesan crusted chicken. Both baking and pan-frying have their merits, and understanding their nuances is essential for achieving that perfectly polished crust.
Baking for a Lighter Option
Baking is a more hands-off approach, making it a popular choice for weeknight meals. To achieve a good crust while baking, it’s crucial to use a sufficiently high oven temperature. Preheat your oven to at least 400°F (200°C). Placing the breaded chicken on a wire rack set inside a baking sheet is highly recommended. This allows air to circulate around the chicken, promoting even browning and crisping on all sides, preventing the bottom from becoming soggy from resting in its own rendered fats.
For an even crispier baked crust, some chefs advocate for a two-stage baking process. First, bake the chicken for about two-thirds of the total cooking time, then flip it and continue baking until golden and cooked through. This ensures that both sides of the crust get direct exposure to the heat.
Pan-Frying for Maximum Crispness
Pan-frying offers the most direct route to a deeply golden and exceptionally crisp crust. Heat a moderate amount of neutral oil (like vegetable, canola, or grapeseed oil) in a heavy-bottomed skillet over medium-high heat. The oil should be hot enough to sizzle when a breadcrumb is dropped in, but not so hot that it smokes immediately.
Carefully place the breaded chicken into the hot oil, ensuring not to overcrowd the pan, as this will lower the oil temperature and lead to steaming rather than frying. Fry for 3-5 minutes per side, or until the crust is a rich golden brown and the chicken is cooked through. The rendered fat from the chicken and the cheese will contribute to the browning and crisping.
After pan-frying, it’s essential to drain the chicken on a wire rack, not paper towels. Draining on paper towels can trap steam and soften the crust. A wire rack allows air to circulate freely, preserving that delightful crunch.
Elevating Your Parmesan Crusted Chicken: Expert Tips and Tricks
Beyond the fundamental steps, several advanced techniques can take your Parmesan crusted chicken from good to absolutely sublime. These are the nuances that distinguish a home cook’s attempt from a restaurant-quality dish.
The Double Dredge for Extra Thickness
For an even more substantial and shatteringly crisp crust, consider a double dredge. After the initial flour, egg, and breadcrumb/Parmesan coating, dip the chicken back into the egg wash and then into the breadcrumb/Parmesan mixture *again*. This builds a thicker layer of coating, which, when cooked correctly, results in a more pronounced crunch and a richer flavor profile.
Incorporating Herbs and Spices
Don’t limit your seasoning to just salt and pepper. Freshly chopped parsley, basil, or chives can be mixed into the breadcrumb/Parmesan coating for bursts of freshness. Dried herbs like oregano, thyme, or rosemary also work beautifully. A pinch of red pepper flakes can add a subtle warmth and complexity. Consider a touch of finely grated lemon zest in the breadcrumb mixture for a bright, zesty counterpoint to the rich cheese.
The Broiler Boost
If you’re baking your chicken and feel the crust isn’t quite golden enough, a brief stint under the broiler can provide that final, intense heat to achieve perfect color. Watch it *very* closely, as broilers can quickly turn golden brown to burnt black. This technique is best used as a final step after the chicken is cooked through.
Resting is Crucial
Just like with any cooked protein, allowing your Parmesan crusted chicken to rest for a few minutes after cooking is vital. This allows the juices within the chicken to redistribute, resulting in a more tender and moist final product. While resting, the crust will also continue to set and firm up, maintaining its crispness.
Nutritional Information (Approximate Per Serving – 6 oz Chicken Breast)
Understanding the nutritional profile of your meal can help you make informed dietary choices. The following is an approximation and can vary based on specific ingredients and cooking methods.
- Calories: 350-450
- Protein: 40-50g
- Fat: 15-25g (varying based on oil used and chicken cut)
- Saturated Fat: 5-10g
- Carbohydrates: 10-15g (primarily from breading)
- Fiber: 1-2g
- Sodium: 500-800mg (varying based on cheese and added salt)
*Note: This information is for general guidance only. For precise nutritional data, it is recommended to use a nutritional calculator with your specific ingredients and quantities.*
Frequently Asked Questions
Why is my Parmesan crust soggy instead of crispy?
A soggy crust is almost always due to excess moisture. Ensure you are thoroughly drying your chicken before breading, and use Panko breadcrumbs for a lighter, crisper texture. When pan-frying, avoid overcrowding the pan and drain on a wire rack. If baking, use a wire rack within a baking sheet for air circulation.
Can I make Parmesan crusted chicken ahead of time?
While you can prepare the breading mixture and even bread the chicken ahead of time (storing it unbaked in the refrigerator for a few hours), it is best cooked just before serving to achieve optimal crispness. Reheating can often result in a less crispy texture.
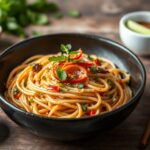
What are the best side dishes to serve with Parmesan crusted chicken?
Classic pairings include creamy mashed potatoes, roasted asparagus, a simple green salad with a vinaigrette, or a light pasta dish with marinara sauce. The richness of the chicken pairs well with lighter, fresh accompaniments.
Is it better to pan-fry or bake Parmesan crusted chicken?
Both methods yield delicious results, but pan-frying generally produces a crispier, more deeply golden crust due to direct contact with hot oil. Baking is a healthier, more hands-off option that can still achieve a satisfying crunch, especially when using a wire rack and high heat.
How can I make my Parmesan crust adhere better to the chicken?
Ensure your chicken is patted very dry. The flour dredge is crucial for providing a surface for the egg wash to stick to. Don’t skip the egg wash, and press the breadcrumb/Parmesan mixture firmly onto the chicken to ensure good adhesion.
See also: Parmesan Crusted


