The Soul of Ethiopian Cuisine: Understanding Injera Scratch
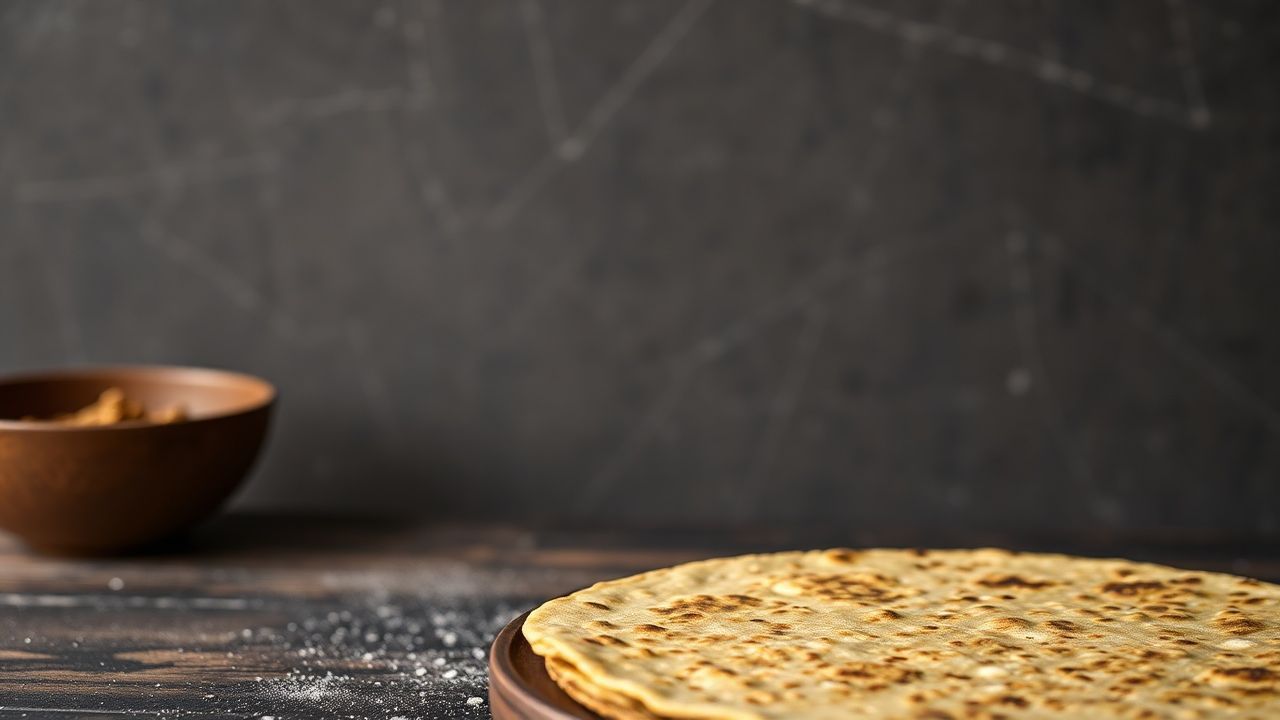
Have you ever savored the unique, tangy, slightly spongy texture of injera, the cornerstone of Ethiopian dining, and wondered about the magic behind its creation? It’s a question that often sparks curiosity, not just for its delightful flavor but for the seemingly alchemical process that transforms humble ingredients into this iconic flatbread. Injera isn’t merely a food item; it’s a cultural emblem, a communal vessel, and proof of centuries of culinary tradition. Mastering injera scratch is not just about following a recipe; it’s about understanding a living piece of history, a practice passed down through generations, deeply intertwined with the fabric of Ethiopian life. This guide will demystify the process, offering you the knowledge and confidence to replicate this culinary marvel in your own kitchen.
- The Soul of Ethiopian Cuisine: Understanding Injera Scratch
- The Essential Foundation: Ingredients for Authentic Injera Scratch
- The Art of Fermentation: Cultivating the Injera Batter
- The Craft of Cooking: Griddling Your Injera Scratch
- Nutritional Profile of Authentic Injera Scratch
- Elevating Your Injera Scratch: Expert Tips and Techniques
- Troubleshooting Common Injera Scratch Challenges
- The Cultural Significance of Injera Scratch
- Frequently Asked Questions about Injera Scratch
Injera scratch is more than just fermented flatbread; it is a cultural cornerstone, a symbol of hospitality, and a gateway to experiencing the diverse mix of Ethiopian cuisine.
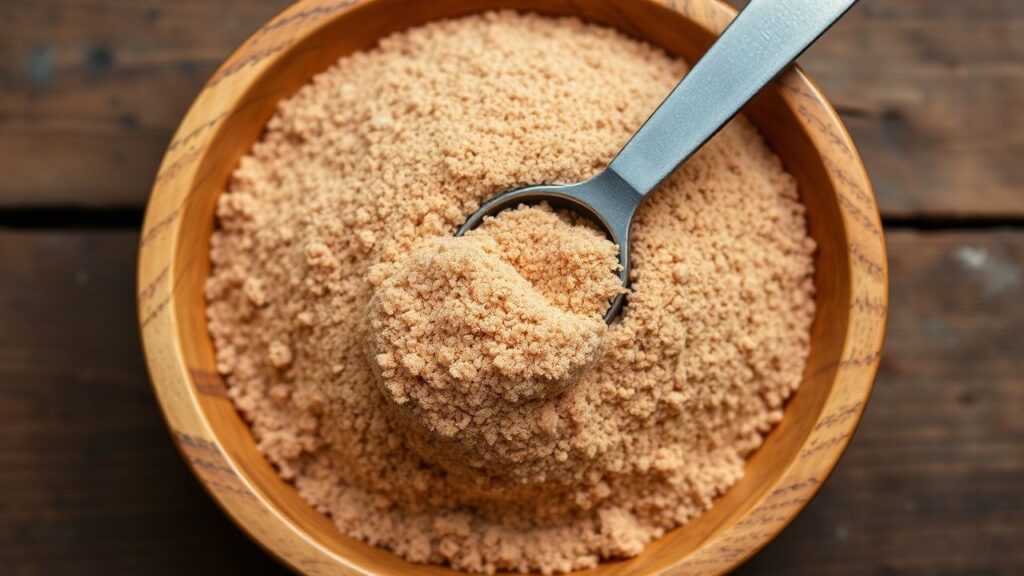
The journey to perfect injera scratch begins with appreciating its core ingredient: teff. This ancient grain, indigenous to Ethiopia, possesses unique properties that lend injera its characteristic texture and flavor. For millennia, Ethiopians have relied on teff, a tiny grain that packs a nutritional punch, often referred to as “Ethiopia’s super grain.” Its gluten-free nature also makes it accessible to a wider audience, though its cultivation is particularly challenging, making authentic injera a truly special culinary achievement. Understanding teff – its varieties, its milling, and its interaction with yeast – is the first crucial step in mastering injera scratch.
The Essential Foundation: Ingredients for Authentic Injera Scratch
Creating authentic injera scratch requires precision and a deep respect for traditional ingredients. While variations exist across different regions and families, the core components remain remarkably consistent. The quality of your ingredients directly impacts the final product, so sourcing the best possible teff is paramount.
Here’s what you’ll need for a truly authentic injera scratch experience:
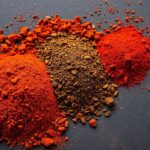
- Teff Flour: This is the non-negotiable star of the show. For the best results, use finely ground, 100% pure teff flour. It’s available in various colors, with red teff lending a richer flavor and darker hue, while white teff produces a lighter bread. Many traditional recipes call for a blend.
- *Metric:* 500 grams (approximately 4 cups)
- *Imperial:* 1 lb (approximately 4 cups)
- Water: Filtered or spring water is recommended to avoid any off-flavors from tap water. The water matter significantly in activating the fermentation process.
- *Metric:* 1 liter (approximately 4 cups)
- *Imperial:* 1 quart (approximately 4 cups)
- Active Dry Yeast: This is typically used to jumpstart the fermentation, especially for those making injera outside of Ethiopia where the ambient microflora might be different.
- *Metric:* 1 teaspoon
- *Imperial:* 1 teaspoon
- Salt: Essential for flavor enhancement and to control the fermentation process.
- *Metric:* 1.5 teaspoons
- *Imperial:* 1.5 teaspoons
The Art of Fermentation: Cultivating the Injera Batter
The heart of injera scratch lies in its fermentation. This is where the magic happens, transforming simple flour and water into a complex, tangy dough. The process is a delicate balance of time, temperature, and microbial activity. Patience is your most valuable tool here.
Day 1: Initiating the Ferment
1. Combine Dry Ingredients: In a large, non-reactive bowl (glass or ceramic is ideal), whisk together the teff flour and salt. 2. Activate the Yeast: In a separate small bowl, dissolve the active dry yeast in about 1/4 cup (60 ml) of lukewarm water (around 105-115°F or 40-46°C). Let it sit for 5-10 minutes until frothy. This confirms the yeast is active. 3. Mix the Batter: Add the activated yeast mixture and the remaining water to the teff flour and salt. Whisk vigorously until you achieve a smooth, lump-free batter. The consistency should be similar to thin pancake batter or heavy cream – fluid enough to spread easily but not watery. 4. First Fermentation: Cover the bowl loosely with a clean kitchen towel or plastic wrap. Place it in a warm spot (around 75-80°F or 24-27°C) for 24 hours.
The ideal fermentation environment is crucial; too cold and it will be sluggish, too hot and it can spoil.
During this initial 24-hour period, you’ll notice the batter beginning to bubble and expand. This is a sign that the yeast is actively consuming the sugars in the teff and producing carbon dioxide, which creates the characteristic airy texture. The aroma will also start to develop a pleasant tang.
Day 2: Developing the Flavor
1. Second Fermentation: After 24 hours, the batter will have risen significantly and will have a distinctly yeasty, slightly sour aroma. Gently stir the batter to deflate it slightly.
2. Additional Fermentation: Re-cover the bowl and let it ferment for another 24-48 hours. The total fermentation time can vary depending on the ambient temperature and the specific strain of yeast or wild microbes present. You’re looking for a bubbly, slightly thick batter with a pronounced, pleasant sourness. The longer it ferments, the tangier the injera will be. Some traditional methods involve fermenting for up to 5-7 days, but for home cooks, 48 hours is a good starting point.
The Craft of Cooking: Griddling Your Injera Scratch
Once the batter has reached optimal fermentation, it’s time to cook. This is where the true artistry of injera scratch unfolds. The key is to achieve a thin, evenly cooked crepe with a slightly porous surface.
Equipment You’ll Need:
- A Large, Flat Griddle or Non-Stick Pan: A heavy-bottomed, 10-12 inch (25-30 cm) non-stick skillet or a dedicated injera griddle (mitad) is ideal. It must heat evenly.
- Ladle: For portioning the batter.
- Spatula: A thin, flexible spatula for handling the cooked injera.
The Cooking Process:
1. Preheat the Griddle: Heat your griddle or pan over medium-high heat. It’s crucial to get the griddle hot enough so that the injera cooks quickly, creating the characteristic bubbles. A good test is to flick a few drops of water onto the surface; they should sizzle and evaporate immediately. 2. Adjust Batter Consistency (If Needed): Before cooking, give the fermented batter a gentle stir. If it seems too thick, you can add a tablespoon or two of water to reach the desired thinness. 3. Pour the Batter: Once the griddle is hot, ladle about 1/2 to 3/4 cup (120-180 ml) of batter onto the center of the hot surface. Immediately swirl the pan or use the back of the ladle to spread the batter thinly and evenly in a circular motion, working from the center outwards. Think of making a crepe, but with a slightly thicker batter. 4.
Cook: The injera will cook from the bottom up. You’ll see bubbles begin to form across the surface. This is a sign of proper fermentation and cooking. The edges will start to lift slightly. Cook for about 1-2 minutes, or until the surface appears cooked through and the bubbles have created small holes. 5. The “Eye” of the Injera: The center of the injera should be slightly moist, creating a delicate, spongy texture. Avoid overcooking, which will make it crisp like a cracker. 6. Cooling and Stacking: Gently lift the cooked injera off the griddle with your spatula and place it on a plate or clean kitchen towel. As you cook subsequent injeras, stack them on top of each other. The steam trapped between them helps to maintain their soft, pliable texture.
Nutritional Profile of Authentic Injera Scratch
Injera, particularly when made with pure teff, is a nutritional powerhouse. It’s naturally gluten-free and rich in essential minerals and complex carbohydrates.
- Calories: Approximately 100-120 per serving (depending on size and thickness).
- Protein: A good source of plant-based protein, offering a complete amino acid profile, which is rare for grains. Teff is particularly rich in lysine.
- Fiber: High in dietary fiber, promoting digestive health and sustained energy release.
- Minerals: An excellent source of iron, calcium, magnesium, phosphorus, potassium, and zinc. The iron content in teff is notably higher than in many other grains, contributing to its reputation as a vital food source.
- Vitamins: Contains B vitamins, crucial for metabolism and energy production.
Research suggests teff’s significant contribution to dietary mineral intake, especially in Ethiopian populations where it forms a staple food. The fermentation process further enhances the bioavailability of these nutrients, making them more readily absorbed by the body.
Elevating Your Injera Scratch: Expert Tips and Techniques
Achieving that perfect injera scratch requires a nuanced understanding that goes beyond the basic recipe. Here are some pro tips to refine your technique and impress even the most discerning palate.
- Teff Flour Quality: As mentioned, the quality of your teff flour is paramount. Source it from reputable Ethiopian or African specialty stores if possible. Freshly milled teff will yield superior results.
- Fermentation Temperature Control: Consistency is key. If your kitchen is cool, consider using a proofing box, a slightly warm oven (turned off, with just the light on), or even a slow cooker on its lowest setting (with the lid slightly ajar) to maintain an optimal fermentation temperature.
- The “Starter” Method: For truly authentic flavor, many families maintain a “starter” – a portion of their batter from a previous batch that is fed and refreshed daily. This captures the unique microflora of their kitchen, leading to a complex and consistent flavor profile over time. While challenging to replicate outside of Ethiopia, it’s proof of the living nature of injera.
- Griddle Temperature Management: Mastering the griddle temperature is crucial. Too low, and the injera will be dense and gummy. Too high, and it will burn before it cooks through. You’ll develop a feel for it over time, but err on the side of slightly hotter rather than cooler.
- The “Ventilation” Technique: Some cooks advocate for leaving the cooked injera uncovered for a few minutes before stacking. This allows some excess moisture to evaporate, preventing a slightly “soggy” texture and enhancing the overall structure.
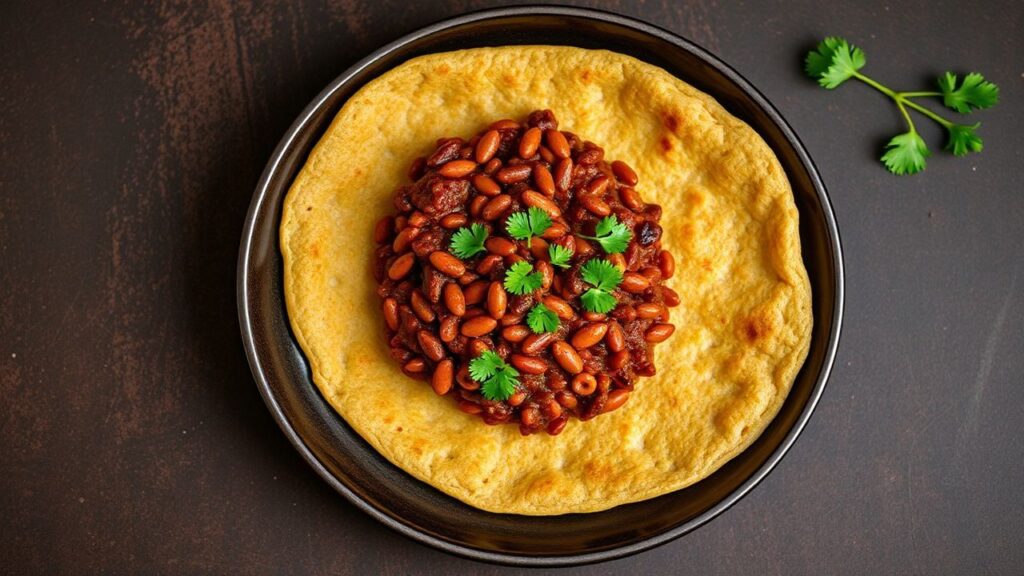
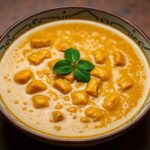
- Serving with Flair: Injera is traditionally used as both a plate and an eating utensil. Serve it with flavorful stews (wots), grilled meats, or vegetable dishes. Tear off a piece of injera, scoop up your food, and enjoy the communal dining experience.
Troubleshooting Common Injera Scratch Challenges
Even with the best intentions, you might encounter a few hiccups on your injera-making journey. Here are solutions to common problems:
- Injera is too thick and gummy: This usually indicates insufficient fermentation or a batter that is too dense. Try adding a little more water to the batter before cooking and ensure adequate fermentation time. Also, check your griddle temperature; it might be too low.
- Injera tears easily or is too fragile: This can happen if the batter is too thin or the griddle isn’t hot enough, causing it to cook unevenly. Ensure you’re using a good quality teff flour and that your griddle is well-preheated.
- Injera has an unpleasant smell or taste: This is often a sign of over-fermentation or contamination. If the smell is excessively strong or acrid, or if there’s any sign of mold, it’s best to discard the batch and start fresh, paying close attention to hygiene and temperature control. A properly fermented injera should have a pleasant, tangy aroma.
- Injera sticks to the griddle: Your non-stick surface might be worn, or the griddle isn’t hot enough. Ensure your pan is in good condition and properly preheated. A thin coating of oil (if using a non-stick pan) can sometimes help, though many purists avoid oiling.
The Cultural Significance of Injera Scratch
Beyond its culinary appeal, injera scratch holds profound cultural significance. It is the centerpiece of every Ethiopian meal, symbolizing unity and hospitality. The communal act of sharing a large injera platter, from which everyone eats, fosters a sense of togetherness. The very act of making injera scratch is often a communal effort, with family members contributing to the process, passing down traditions from one generation to the next. In many Ethiopian households, the smell of fermenting injera batter is a comforting, familiar scent, a constant reminder of home and heritage. The meticulous care involved in its preparation reflects a deep respect for food and the traditions it represents.
Frequently Asked Questions about Injera Scratch
H3: How long does the injera batter typically need to ferment?
The fermentation period for injera batter can range from 24 hours to several days, typically 48-72 hours for home cooks. The ideal duration depends on ambient temperature and desired tanginess. You’re looking for a bubbly, slightly risen batter with a pleasant, sour aroma.
H3: Can I use regular all-purpose flour instead of teff flour?
No, you cannot substitute all-purpose flour for teff flour and achieve authentic injera. Teff flour has unique properties, including its fine texture and lack of gluten, which are essential for injera’s characteristic spongy texture and tangy flavor. Using other flours will result in a different type of flatbread.
H3: What is the best way to store leftover injera?
Leftover injera is best stored by wrapping it tightly in plastic wrap or placing it in an airtight container at room temperature. It will remain soft and pliable for 1-2 days. For longer storage, you can refrigerate it, but it may become slightly firmer. Reheat gently by steaming or microwaving.
H3: Why are there holes in my injera?
The holes (or “eyes”) in injera are a sign of successful fermentation. The carbon dioxide produced by the yeast creates bubbles as the batter cooks on the hot griddle. This porosity is a desirable characteristic, contributing to the injera’s ability to absorb sauces and stews.
H3: Is injera scratch difficult to make?
Mastering injera scratch requires patience and practice, particularly with the fermentation and griddling stages. While the ingredients are simple, achieving the perfect texture and flavor takes time and understanding of the process. However, with this guide and consistent effort, it is definitely achievable for home cooks.
See also: injera scratch


