Imagine opening your fridge and discovering not just a pile of yesterday’s meals, but a treasure trove of flavors waiting to be savored again. Storing leftovers isn’t just about tucking away last night’s dinner; it’s an art form that can transform your culinary routine, reduce waste, and save you precious time and money. In “The Ultimate Guide to Storing Leftovers Like a Pro,” we’ll unravel the secrets to keeping your food fresh, flavorful, and safe-turning every saved bite into a delicious encore. Whether you’re a seasoned meal prepper or a kitchen novice, get ready to elevate your leftover game with tips, tricks, and techniques that will make your fridge the envy of every foodie.
Mastering leftover storage safety is an essential skill that transforms everyday meals into prolonged culinary delights while safeguarding your health. Choosing the right containers, understanding smart labeling techniques, and repurposing stored dishes creatively can elevate your home cooking and reduce food waste dramatically. This guide unlocks the science and art behind preserving freshness and flavor, empowering you to enjoy every bite as if it were made just moments ago.
Prep and Cook Time
Prep Time: 10 minutes
Cook Time: N/A (focus on storage preparation)
Total Time: 10 minutes
Yield
Storage guidance suitable for up to 7 days of leftover meals
Difficulty Level
Easy – perfect for all home cooks eager to improve kitchen efficiency
Ingredients for Optimal Food Storage
- 4 airtight glass containers (BPA-free, with solid lids to prevent moisture and odors)
- 1 roll of waterproof masking tape or pre-printed storage labels
- 1 permanent fine-tip marker or erasable dry-erase marker for label reuse
- Resealable freezer bags for delicate or portioned items
- Silicone food savers for partially used produce (optional)
- Vacuum sealer (optional) for extended freshness, especially in freezer storage
Instructions: Maximizing Freshness and Usability
- Select superior containers: Use glass or BPA-free plastic containers with tight seals. Glass retains flavor and resists staining, while clear sides enable quick content identification. Avoid single-use wraps or bags without seals to reduce contamination risk.
- Cool leftovers properly: Let hot foods cool at room temperature for no longer than 1 hour before sealing. Rapid cooling prevents bacterial growth and maintains texture integrity.
- Portion strategically: Divide meals into individual or family-sized servings to minimize repeated exposure and maintain optimal temperature when reheating.
- Label diligently: Apply labels on container tops or sides marked with the dish name and date stored. Use permanent markers on tape or dry-erase where appropriate. This ensures you never forget a leftover and reduces waste.
- Organize storage: Keep similar items grouped in the fridge or freezer to maintain order and enhance quick access. Store raw and cooked foods separately to prevent cross-contamination.
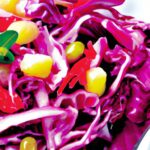
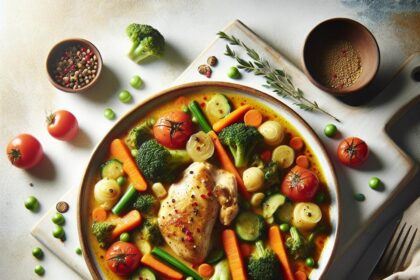
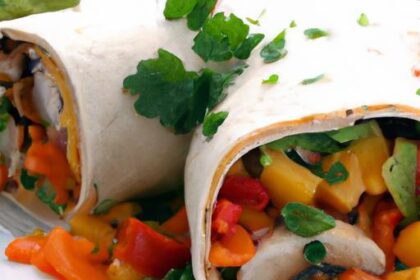
- Repurpose creatively: Transform leftovers with simple tweaks-turn roasted veggies into soups, cooked grains into hearty salads, and grilled meats into wraps or stir-fries. Consider adding fresh herbs, a splash of vinegar, or spices to renew flavors delightfully.
- Maintain cleanliness: Regularly sanitize containers and fridge shelves with food-safe cleaners to reduce microbial presence and extend food lifespan.
Chef’s Notes and Tips for Success
- Container choice matters: Glass containers excel for microwave reheating and odor resistance, while silicone lids add eco-friendly versatility.
- Label hacks: Use color-coded labels by meal type (e.g., green for veggies, red for meats) to speed up selection.
- Freeze smart: Leave headspace in containers to allow liquid expansion. Use vacuum sealing for proteins and leafy greens to preserve texture.
- Repurpose ideas: Blend leftover soups with cream or coconut milk for richness; chop leftover roast into breakfast hash or frittatas for quick, satisfying meals.
- Storage duration: Refrigerate leftovers within 2 hours of cooking and consume within 3-4 days for safety. Freeze for up to 3 months with proper sealing.
- Troubleshooting: If noticing condensation inside containers, leave lids slightly ajar until completely cooled to prevent sogginess.
Serving Suggestions
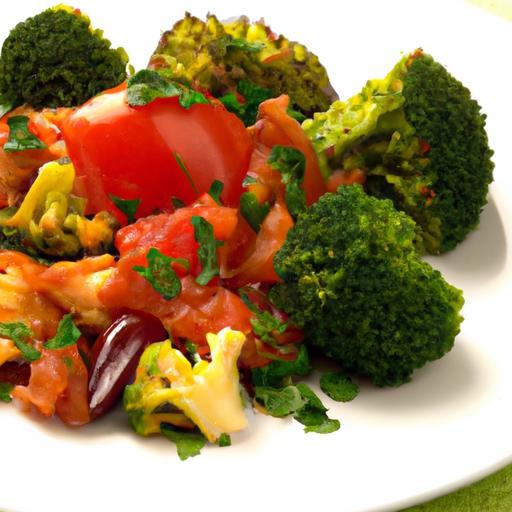
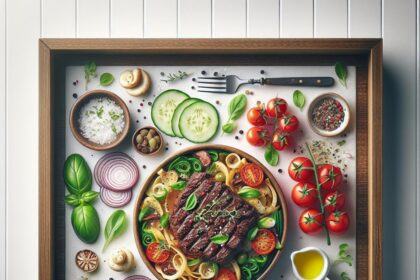
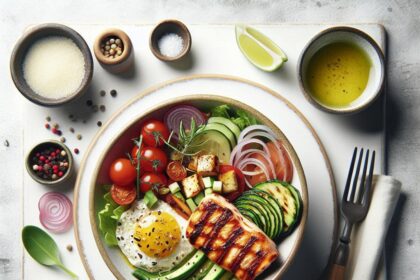
Present repurposed leftovers with fresh garnishes like chopped herbs, lemon zest, or toasted nuts for vibrant contrast. Pair dishes with simple, crisp salads or crusty bread to complete the plate. Consider using colorful containers for meal prep displays or garnishing plates with edible flowers to intrigue the eye and palate.
| Nutrient | Approximate Amount Per Serving |
|---|---|
| Calories | 150-250 (varies by dish) |
| Protein | 10-20g |
| Carbohydrates | 15-30g |
| Fat | 5-10g |
For further insight on food safety, visit the FDA’s food storage guidelines.

Embrace the science of freshness and enjoy every meal-whether freshly cooked or deliciously repurposed-with newfound confidence and skill.
Q&A
Q&A: The Ultimate Guide to Storing Leftovers Like a Pro
Q1: Why is properly storing leftovers important?
A: Properly storing leftovers isn’t just about saving food-it’s about preserving flavor, texture, and safety. Done right, it reduces food waste, saves money, and makes mealtime a breeze when you can just reheat instead of cook from scratch.
Q2: What’s the magic temperature for leftover storage?
A: Keep your leftovers in the fridge at or below 40°F (4°C). This temperature slows bacterial growth. If leftovers sit out over 2 hours at room temp, toss them-it’s a risk not worth taking!
Q3: How soon should I refrigerate leftovers?
A: Ideally, refrigerate leftovers within two hours after cooking. For hot days above 90°F (32°C), that window shrinks to one hour. Quick cooling keeps your food safe and fresh.
Q4: What containers are best for storing leftovers?
A: Opt for airtight containers made from glass or BPA-free plastic. Clear containers help you see what’s inside without opening them, keeping your fridge organized and your leftovers fresher, longer.
Q5: Can I freeze any leftovers?
A: Almost! Most cooked dishes like soups, stews, meats, and casseroles freeze well. Avoid freezing potatoes and leafy greens-they can become watery or mushy. Remember to cool leftovers before freezing to avoid ice crystals.
Q6: How long do leftovers last in the fridge?
A: Typically, leftovers keep for 3-4 days refrigerated. If you can’t eat them in that timeframe, pop them in the freezer for extended storage-up to 3 months for many dishes.
Q7: How do I reheat leftovers without drying them out?
A: Add a splash of water or broth, cover the dish to trap steam, and reheat gently-microwave on medium or warm up on the stove. This keeps moisture in and flavors vibrant.
Q8: Any hacks to make leftover storage more efficient?
A: Label containers with the date you stored them-no more mystery meals! Also, freeze leftovers in portion-sized containers for quick, ready-to-go meals that heat evenly.
Q9: What are some common leftover storage mistakes?
A: Storing hot food uncovered, leaving food out too long, forgetting to date containers, and overcrowding the fridge where air can’t circulate properly-these can all lead to spoiled leftovers. Keep it cool, covered, and clearly labeled!
Q10: Can leftovers be repurposed creatively?
A: Absolutely! Leftover roast can transform into tacos, wilted veggies can be tossed into soups, and stale bread becomes croutons. Storing leftovers properly is the first step in making delicious second-day meals that no one will guess were once “last night’s dinner.”
With these pro tips, your leftovers will be fresher, tastier, and safer than ever-turning yesterday’s meal into tomorrow’s delight!
In Retrospect
As the final morsels of your carefully prepared meal find their perfect place in the fridge or freezer, you’re not just saving food-you’re preserving moments, flavors, and the effort behind every bite. Mastering the art of storing leftovers like a pro transforms mundane containers into time capsules of taste and nutrition, ready to delight you whenever hunger calls again. With these tips in your culinary toolkit, wasted food becomes a thing of the past, and every meal’s story continues a little longer. So go ahead-store smart, savor more, and let your leftovers shine as brightly as your next fresh creation.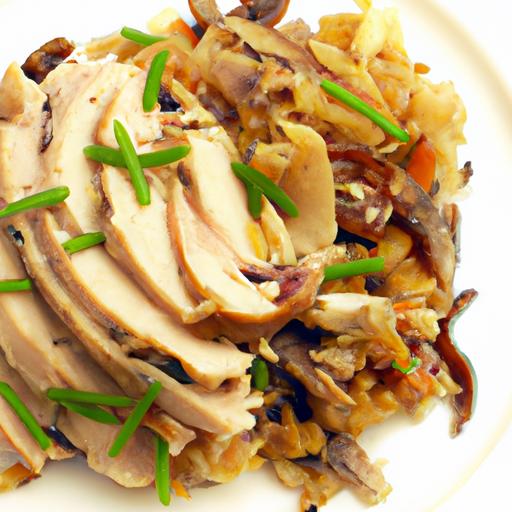


