There’s a reason why New York cheesecake has earned its iconic status in the world of desserts-its rich, creamy texture and perfectly balanced sweetness evoke a sense of timeless indulgence that transcends generations. But beneath its deceptively simple appearance lies a craft that demands precision, technique, and a touch of patience. In this guide, we’ll journey through the art and science of mastering the classic New York cheesecake, unraveling secrets that transform humble ingredients into a velvety masterpiece. Whether you’re a seasoned baker or a curious novice, prepare to unlock the quintessential recipe that has delighted taste buds from city bakeries to home kitchens alike.
Mastering Classic New York Cheesecake: A Timeless Guide
Mastering Classic New York Cheesecake begins with a deep appreciation of every component that brings this iconic dessert to life. Whether it’s the velvety texture of the cream cheese filling or the perfect harmony of a crunchy yet sweet crust, each step plays a crucial role. This beloved dessert, originating from the bustling neighborhoods of mid-20th century New York, has won hearts across the globe with its rich, creamy flavor and elegant simplicity. As a longtime enthusiast, I’ve discovered that the secret to perfection lies in selecting quality ingredients and respecting precise techniques to achieve that signature silky finish and flawless set.
Prep and Cook Time
- Preparation: 25 minutes
- Baking: 1 hour 15 minutes
- Cooling and Chilling: Minimum 6 hours (preferably overnight)
Yield
Serves 12 generous slices
Difficulty Level
Medium – Perfect for home bakers ready to elevate their cheesecake skills.
Ingredients
- Crust:
- 1 ½ cups graham cracker crumbs (finely crushed)
- ⅓ cup granulated sugar
- 6 tablespoons unsalted butter, melted
- 1 teaspoon ground cinnamon (optional, for warmth)
- Filling:
- 4 (8-ounce) packages full-fat cream cheese, room temperature
- 1 ¼ cups granulated sugar
- 1 cup sour cream, room temperature
- 4 large eggs, room temperature
- 2 teaspoons pure vanilla extract
- 2 tablespoons all-purpose flour
Instructions
- Prepare the crust: Preheat your oven to 350°F (175°C). In a medium bowl, combine the graham cracker crumbs, sugar, melted butter, and cinnamon. Press this mixture firmly and evenly into the bottom of a 9-inch springform pan. Use the back of a spoon or a flat-bottomed glass to pack it well. Bake for 10 minutes until set and lightly golden. Remove and let cool while preparing the filling.
- Create a silky smooth filling: Place room temperature cream cheese in a large bowl. Using a stand mixer fitted with a paddle attachment, beat on medium speed until creamy and free of lumps-this usually takes about 2-3 minutes. Gradually add sugar while continuing to mix. Add sour cream and blend just until incorporated.
- Incorporate eggs precisely: Add eggs one at a time, mixing on low speed after each addition to maintain a smooth texture without overwhipping, which could introduce unwanted air and cracks.
- Add vanilla and flour: Fold in vanilla extract and sprinkle the flour to help stabilize the filling. Mix just until combined; aim for a glossy, thick batter without any lumps.
- Pour and bake: Pour the filling over the cooled crust and smooth the top with a spatula. Place the springform pan on a baking sheet and bake for about 1 hour 15 minutes. The edges should be set and slightly puffed, while the center may still have a subtle jiggle-this is essential for a creamy finish.
- Master the cooling: Turn off the oven and crack the door open. Let the cheesecake cool inside for 1 hour to avoid sudden temperature changes that cause cracks. Then, remove the cheesecake from the oven and refrigerate for at least 6 hours or preferably overnight to fully set.
Tips for Success
- Choose full-fat cream cheese: It’s the key to achieving the authentic creamy texture and rich flavor. Avoid low-fat or whipped varieties as they contain stabilizers that can affect consistency.
- Room temperature ingredients: Softened cream cheese, eggs, and sour cream ensure a uniformly smooth batter without clumps and prevent overmixing.
- Careful mixing: Overbeating introduces excess air causing cracks or a grainy texture. Beat gently but thoroughly for silky smoothness.
- Water bath option: For optimal crack-free cheesecake, place the springform pan in a water bath wrapped in foil. The gentle, moist heat ensures even baking.
- Make ahead: Cheesecake flavors mellow beautifully after resting overnight, making it an ideal make-ahead dessert.
Serving Suggestions
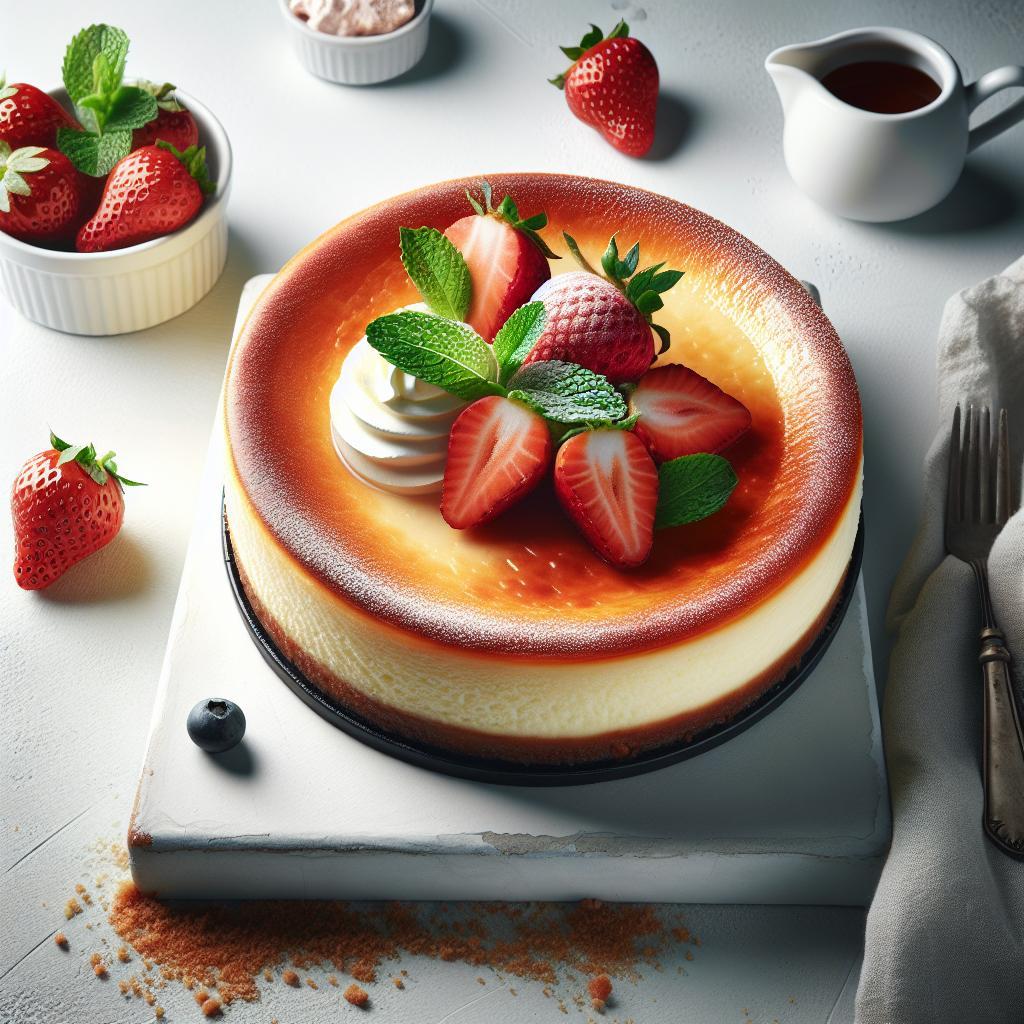
For the ultimate classic presentation, slice your cheesecake cleanly using a hot, wet knife for smooth edges. Garnish each slice with a dollop of freshly whipped cream and a scattering of fresh strawberries or blueberries to add vibrant color and a touch of natural sweetness. A light dusting of powdered sugar or a drizzle of homemade raspberry coulis beautifully elevates each serving to dessert-table perfection.
| Nutrient | Per Serving |
|---|---|
| Calories | 450 kcal |
| Protein | 7 g |
| Carbohydrates | 38 g |
| Fat | 29 g |
For further insight into achieving a flawless New York Cheesecake texture, visit Serious Eats. Also, explore our collection of cheesecake recipes for creative variations to brighten your baking adventures.

Q&A
Q&A: Mastering Classic New York Cheesecake – A Timeless Guide
Q1: What makes New York cheesecake so iconic compared to other types of cheesecakes?
A1: New York cheesecake stands apart with its dense, creamy texture and rich, tangy flavor. Unlike lighter, fluffier cheesecakes, it uses a high ratio of cream cheese and heavy cream or sour cream, which creates that signature velvety mouthfeel. Its simplicity-usually no frills, just a buttery graham cracker crust and pure cheesecake filling-lets the quality ingredients shine.
Q2: Why is it important to use full-fat cream cheese? Can I use a low-fat version?
A2: Full-fat cream cheese provides the luscious creaminess and firmness that defines a classic New York cheesecake. Low-fat alternatives often introduce excess moisture and don’t set as well, leading to a less stable and less flavorful cake. For that decadent texture and rich taste, full-fat is the timeless choice.
Q3: How do I prevent cracks from forming on the cheesecake surface?
A3: Cracks are a common nemesis! To keep your cheesecake flawlessly smooth: bake it gently at a low temperature, use a water bath to regulate heat and moisture, avoid overmixing the batter (which adds air), and don’t open the oven door mid-bake. Cooling the cheesecake gradually-first inside the off oven, then at room temperature before refrigerating-also helps maintain its perfect top.
Q4: Can I make the crust gluten-free without compromising flavor?
A4: Absolutely! Swap traditional graham crackers with gluten-free crumbs-like gluten-free graham or crushed gluten-free cookies-and mix with melted butter and a touch of sugar. The key is achieving a buttery, slightly sweet base that crisps up nicely. Taste and texture remain just as indulgent with thoughtful substitutions.
Q5: What’s the ideal baking time and temperature for a classic New York cheesecake?
A5: Typically, a New York cheesecake bakes at 325°F (160°C) for about 55 to 70 minutes. The edges should be set while the center remains slightly jiggly-this ensures it finishes cooking gently as it cools. Using an oven thermometer and watching closely in the final minutes guarantees a perfectly baked centerpiece.
Q6: How long should I chill the cheesecake before serving?
A6: Patience is a virtue! Chill your cheesecake for at least 4 hours, but overnight is best. This resting time firms up the texture, deepens the flavors, and makes slicing cleaner and easier. Proper chilling transforms your cheesecake from good to unforgettable.
Q7: Any tips for creative toppings that complement but don’t overpower the classic cheesecake?
A7: Keep it simple to honor tradition. Fresh berries, a drizzle of caramel or bittersweet chocolate sauce, or a spoonful of lemon curd add brightness without masking the creamy tang. Even a light dusting of powdered sugar can elevate the presentation while letting your masterpiece remain the star.
Q8: Is it possible to prepare the cheesecake in advance for a special occasion?
A8: Yes! New York cheesecake actually benefits from a little forethought. Baking it a day or two ahead allows flavors to meld beautifully. Just be sure to wrap it tightly and keep refrigerated. This also reduces day-of stress and guarantees a show-stopping dessert at your gathering.
Dive into this timeless guide, and embrace the art of baking a classic New York cheesecake that’s creamy, rich, and utterly unforgettable. Your palate-and your guests-will thank you!
Insights and Conclusions
As you close this chapter on mastering classic New York cheesecake, remember that this timeless dessert is more than just a recipe-it’s a celebration of technique, patience, and passion. With every creamy slice and perfectly baked crust, you’re not just serving up a dessert; you’re sharing a rich heritage that has delighted taste buds for generations. So dust off your mixing bowls, sharpen your skills, and let your kitchen become the birthplace of your own iconic cheesecake masterpiece. After all, the journey to cheesecake perfection is as rewarding-and as delicious-as the first bite itself.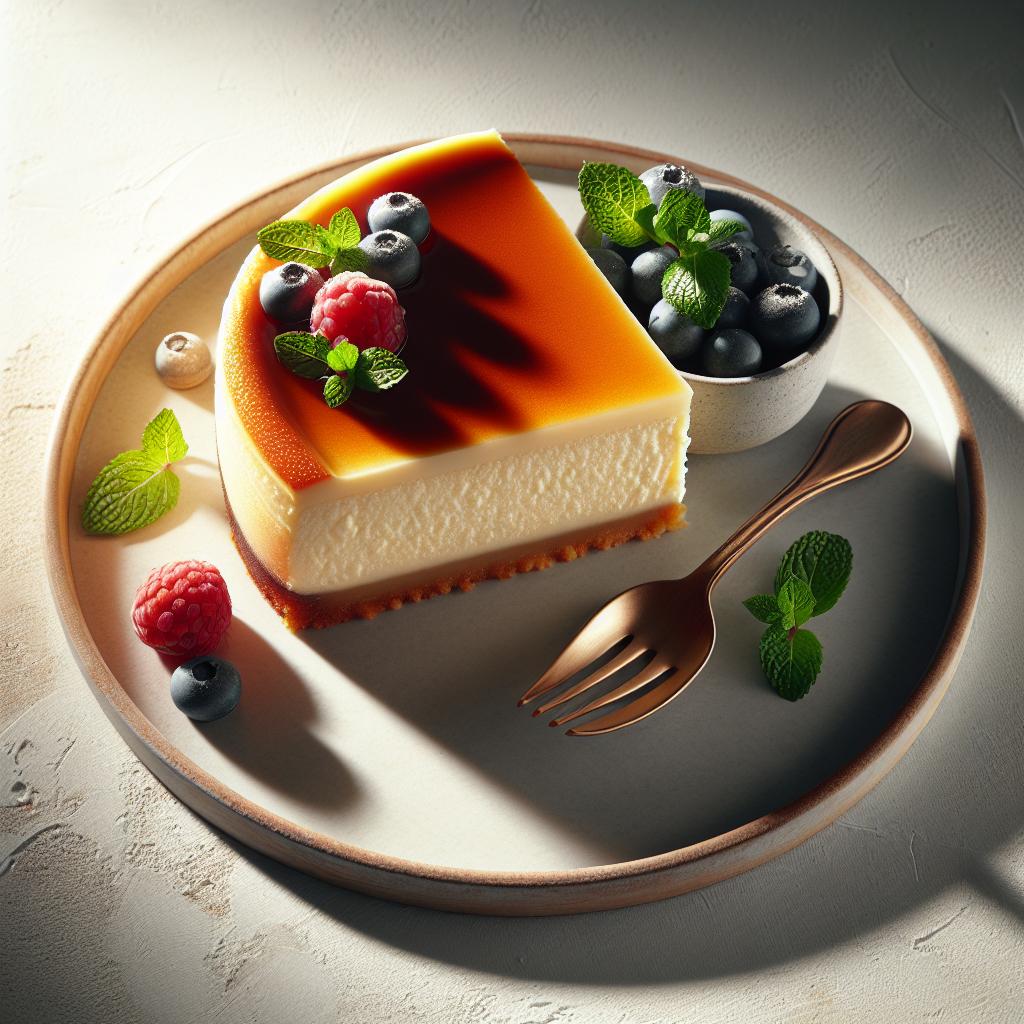

