There’s something almost magical about the ritual of kneading bread-the transformation of humble ingredients into a warm, golden loaf that fills your home with irresistible aroma. Yet, for many, kneading remains a mystery, a daunting step that feels more like a chore than an art. What if you could unlock the secrets to mastering this age-old technique with simple, approachable steps? Welcome to “Master the Art: Simple Steps for Perfect Knead Bread Recipe,” where we’ll guide you through the tactile dance of dough, turning flour and water into a masterpiece of texture and flavor. Whether you’re a curious beginner or looking to refine your skills, this article will give you the confidence and know-how to knead your way to bread perfection every time.
Choosing the Ideal Flour for a Fluffy and Flavorful Loaf
Master the Art: Simple Steps for Perfect Knead Bread Recipe begins with selecting the right flour. The secret to an irresistibly soft crumb and robust flavor lies in your choice of flour. Opt for bread flour with a higher protein content, typically around 12-14%, to cultivate strong gluten networks that give your loaf its signature rise and chew. For a delicate balance, consider blending bread flour with all-purpose flour, lending a mild tenderness without sacrificing structure.
Unlocking the Secrets of Optimal Dough Hydration
The magic of dough hydration transforms simple ingredients into an airy masterpiece. By carefully calibrating the water-to-flour ratio, you encourage gluten strands to stretch and trap air pockets, resulting in that coveted fluffy texture. Start with a hydration level between 65-70%, adjusting as needed by feel-the dough should be slightly tacky, supple, and elastic but not sticky. Remember, ambient humidity and flour brand variations play their part, so trust your hands and intuition.
Techniques to Develop Gluten Strength Without Overworking
Developing gluten is a dance between firmness and finesse. Use gentle folding and stretching methods rather than aggressive kneading to build strength step by step. This approach prevents tearing the gluten matrix while promoting even gas distribution for an airy loaf. Pause your kneading every few minutes to let the dough rest; these moments allow gluten chains to relax and synchronize perfectly. The windowpane test-a thin, translucent stretch of dough-signals your dough’s readiness without overdoing it.
Mastering the Perfect Proofing Environment for Rise and Texture
Creating an optimal proofing haven is essential in Master the Art: Simple Steps for Perfect Knead Bread Recipe. Flourishing yeast thrives in a warm, humid nook, roughly 75-80°F with 75% humidity. This environment educates your dough to rise at the perfect pace, developing delicate flavor notes and an airy crumb. Use a proofing box, a slightly warmed oven, or a covered bowl with a damp cloth to lock in moisture. Avoid rush-proofing in high heat, which can collapse structure and mask nuanced flavors.
Prep and Cook Time
- Preparation: 20 minutes
- First rise (Bulk fermentation): 1.5 to 2 hours
- Shaping and final proof: 45-60 minutes
- Baking: 30-35 minutes
- Total time: Approximately 3.5 to 4 hours
Yield
Makes one standard 9×5-inch loaf, serving 8 slices.
Difficulty Level
Medium – Perfect for home bakers ready to elevate their kneading skills.
Ingredients
- 3 cups bread flour, sifted
- 1 cup warm water (about 110°F)
- 2 tsp active dry yeast
- 2 tsp granulated sugar
- 1 1/2 tsp salt
- 2 tbsp olive oil, plus extra for brushing
Instructions
- Activate the yeast: In a small bowl, dissolve sugar into warm water and sprinkle yeast on top. Let it bloom for 5-10 minutes until frothy.
- Mix the dough: In a large bowl, combine bread flour and salt. Pour in the yeast mixture and olive oil. Stir with a wooden spoon until it forms a shaggy dough.
- First knead (fold and stretch): Transfer dough onto a floured surface. Use the stretch-and-fold method-stretch dough outward and fold back over itself. Repeat for 8-10 minutes until smooth and elastic.
- Bulk fermentation: Place dough in a lightly oiled bowl. Cover with a damp cloth and let it rise in a warm spot (75-80°F) for 1.5 to 2 hours, or until doubled in size.
- Shape the dough: Gently deflate the dough and shape it into a loaf by folding edges inward, creating surface tension on top.
- Final proof: Place shaped dough in a greased 9×5-inch loaf pan. Cover and proof for 45-60 minutes in a warm, humid environment.
- Bake the bread: Preheat oven to 375°F (190°C). Bake the loaf for 30-35 minutes until golden brown and hollow-sounding when tapped.
- Cool and enjoy: Remove from pan and cool on a wire rack for at least 30 minutes before slicing.
Tips for Success
- For an even fluffier crumb, try autolyse by mixing flour and water first and resting for 20 minutes before adding yeast and salt.
- If dough feels sticky, dust hands lightly with flour but avoid adding too much, which can dry out your loaf.
- Use an instant-read thermometer to ensure yeast water temperature is between 105-115°F-too hot kills yeast.
- For enhanced flavor, substitute 1/3 of bread flour with whole wheat flour.
- Make-ahead option: After the first rise, refrigerate the dough overnight for a slow, cold fermentation. Bring to room temperature before shaping.
Serving Suggestions
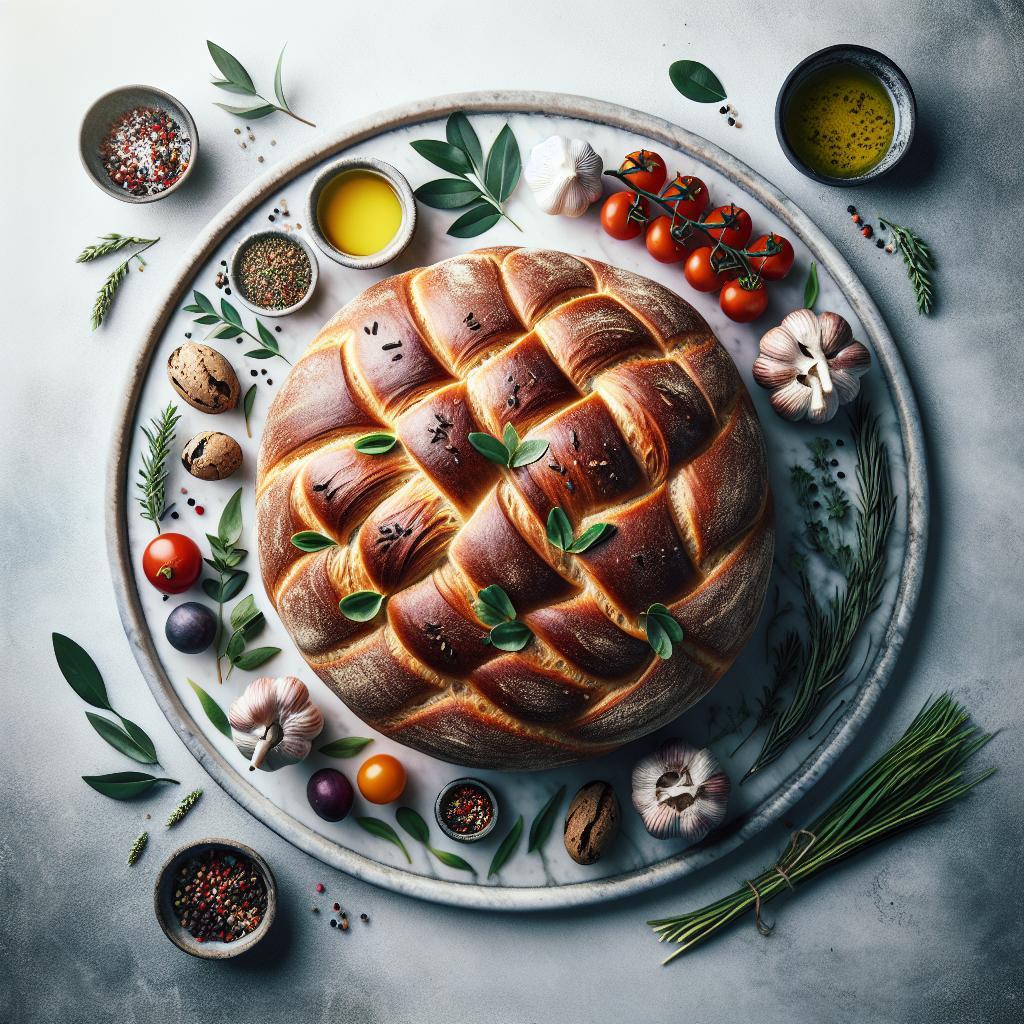
Slice and serve warm with herb-infused butter or your favorite jam to highlight its flavor and texture. Garnish with a sprinkle of flaky sea salt or slivers of fresh rosemary for an aromatic touch. This loaf pairs beautifully with hearty soups, charcuterie boards, or simply alongside a rich cheese platter.

| Nutrient | Per Slice (approx.) |
|---|---|
| Calories | 110 kcal |
| Protein | 4 g |
| Carbohydrates | 22 g |
| Fat | 1.5 g |
Looking to expand your baking repertoire? Check out our Artisan Sourdough Bread Recipe for a naturally leavened alternative. For detailed flour science and hydration insights, visit King Arthur Baking’s Bread Flour Guide.
Q&A
Q&A: Master the Art: Simple Steps for Perfect Knead Bread Recipe
Q1: Why is kneading dough so important in bread making?
A1: Kneading activates gluten, the protein that gives bread its chewy texture and structure. It helps develop elasticity in the dough, allowing it to rise properly and bake into a loaf that’s light, airy, and irresistibly soft.
Q2: How can I tell if my dough has been kneaded enough?
A2: The “windowpane test” is your best friend here. Take a small piece of dough and gently stretch it between your fingers. If it stretches into a thin, translucent sheet without breaking, your dough is kneaded just right!
Q3: What are the simplest steps to knead bread dough effectively?
A3: Start with clean, floured hands and a smooth surface. Push the dough away from you with the heel of your palm, fold it back over itself, give it a quarter turn, and repeat. Consistency and rhythm are key-about 8 to 10 minutes usually does the trick.
Q4: Can I skip kneading if I use a bread machine or stand mixer?
A4: While machines can do the heavy lifting, understanding hand kneading improves your intuition for dough texture and feel. Plus, hand kneading is a rewarding tactile experience that connects you to the artisan spirit of baking.
Q5: What common mistakes should I avoid when kneading bread?
A5: Avoid using too much flour-it can make the dough dry and tough. Also, don’t over-knead; dough that’s too tight loses its softness. Lastly, be patient-rushing the process can hinder gluten development and the perfect rise.
Q6: How does the type of flour influence the kneading process?
A6: High-protein flours like bread flour require a bit more kneading to develop their gluten, while low-protein flours such as all-purpose might need less time. Knowing your flour helps you customize kneading times for that perfect loaf every time.
Q7: What are some creative tips to elevate my kneading experience?
A7: Play your favorite music, use your non-dominant hand for a challenge, or even knead on different surfaces like silicone mats or marble slabs. Treat kneading as a dance between you and the dough-it’s where magic happens!
Mastering the art of kneading might seem simple, but it’s the heart of perfect bread. With these clear steps and insider tips, you’re well on your way to baking loaves that sing with flavor and texture. Happy kneading!
Concluding Remarks
As you close your journey through the simple steps of mastering the perfect knead bread recipe, remember that baking is both an art and a rewarding ritual. Each fold and press in the dough is not just about technique-it’s about connecting with a timeless craft that transforms humble ingredients into a warm, fragrant masterpiece. With patience and practice, the perfect loaf is no longer just a dream but a delicious reality waiting to rise in your own kitchen. So roll up your sleeves, embrace the rhythm of the knead, and savor every crumb of the bread you create-because in mastering this art, you’re not just baking bread; you’re baking memories.


