In a world where bowls are more than just vessels-they are canvases of creativity and functionality-crafting the perfect bowl becomes an art form worth mastering. Whether you’re shaping clay on a potter’s wheel, assembling layers of wood, or molding resin into sleek curves, each step transforms raw materials into something uniquely yours. This ultimate building guide will take you on a journey through the essential techniques, thoughtful design choices, and expert tips needed to bring your vision to life. Prepare to roll up your sleeves and dive into the timeless craft of bowl-making, where imagination meets precision in every curve and contour.
Crafting the Perfect Bowl: Your Ultimate Building Guide
Crafting the perfect bowl is an art form that combines precision, creativity, and technique. Whether you’re a seasoned artisan or a passionate beginner, selecting the right materials sets the foundation for your masterpiece. From the rich clay bodies to the finest glazes, every choice influences the bowl’s final beauty and functionality.
Prep and Cook Time
- Preparation: 1 hour (including material setup and shaping)
- Drying and Finishing: 24-48 hours (dependent on environment)
- Firing Time: Approximately 8 hours per firing cycle
Yield
Creates one perfectly crafted bowl, approximately 6 to 8 inches in diameter, suitable for serving or display.
Difficulty Level
Intermediate to Advanced: Requires skill in shaping and glazing, but with patience and attention to detail, anyone can achieve stunning results.
Ingredients
- 1.5 lbs high-quality stoneware clay, free of impurities
- Pottery wheel or hand-building tools (rolling pin, ribs, and trimming tools)
- Water, for smoothing and softening the clay
- Sandpaper or fine sponge for surface refinement
- Glazes: Choose between glossy, matte, or satin finish – approx. ½ cup per bowl
- Brushes or dipping tools for glaze application
- Protective gear: Apron, gloves, and dust mask
Instructions
- Select Your Clay: Begin by choosing a stoneware clay that offers durability and a smooth finish. Wedge the clay thoroughly to remove air bubbles – this prevents cracks during firing.
- Shape the Base: Center your clay on the wheel. Lukewarm water aids smooth centering – apply it gradually. Create a deep, steady bowl shape by gradually pulling the clay walls upward with your fingers. Aim for balanced height and width.
- Master Symmetry: Use ribs to even out the shape and contours. Rotate the piece slowly while tapping lightly, promoting uniform thickness and a flawless curve.
- Refine Edges: Trim the foot with calibrated tools to form a clean base. Ensure the rim is smooth and consistent by gently rubbing with damp sponges.
- Dry Before Firing: Allow your bowl to reach leather-hard stage-firm yet slightly damp. This is ideal for refining and carving if desired.
- Apply Texture and Finish: Use sponges or a fine brush to smooth surfaces for a polished appearance. For unique textures, experiment with carving or adding slip designs before drying.
- Glaze Application: Dip or brush the bowl in your glaze choice. For consistent coverage, dip quickly and allow excess glaze to drip off. Avoid pooling around the foot to prevent sticking in the kiln.
- Firing: Place the bowl in a kiln, ensuring spacing for heat circulation. Follow manufacturer’s firing schedule carefully for your clay and glaze. Cooling slowly prevents cracking and enhances finish.
- Final Touches: After firing, inspect for crackles or imperfections. Light sanding can soften sharp edges. Add personalized decorations like metallic leaf or hand-painted motifs for a bespoke touch.
Tips for Success
- Clay Selection: Experiment with stoneware for versatile durability; porcelain if you seek a refined translucency, but prepare for delicate handling.
- Consistent Wall Thickness: Prevent warping by maintaining even thickness-use a caliper for precise measurement.
- Drying Environment: Dry bowls covered lightly with plastic to slow moisture loss, reducing the risk of cracks.
- Glazing Variations: Layer glazes for depth of color or try reactive glazes for dynamic textures and hues.
- Personalization: Use stencils or stamps while clay is leather-hard to imprint unique designs.
- Make-Ahead: Bisque fire several bowls at once, glaze and fire in separate sessions to streamline your creative workflow.
Serving Suggestions
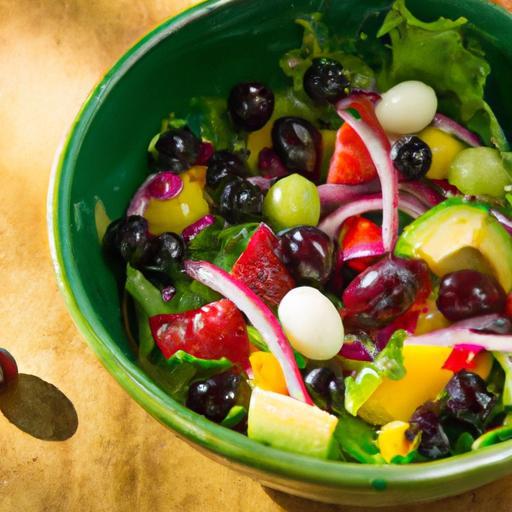
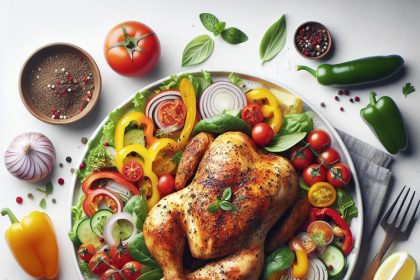
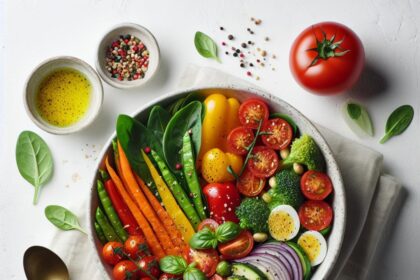
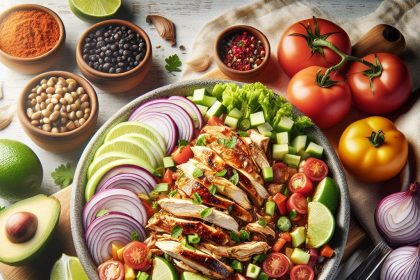
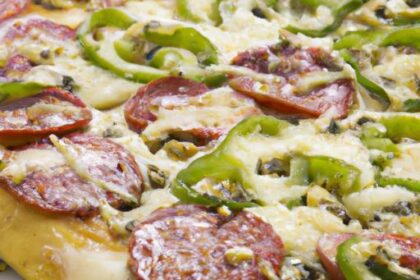
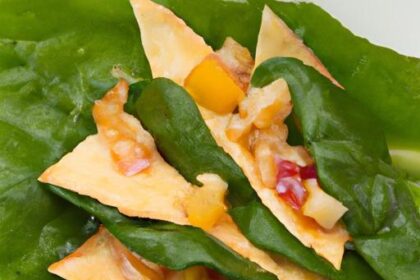
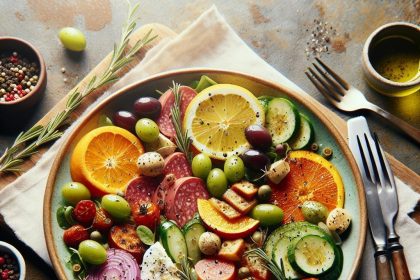
Present your bowl filled with vibrant seasonal salads, smooth soups, or artisan pasta to highlight its beauty. Garnish dishes with fresh herbs or edible flowers that complement the tone of your bowl’s glaze. Consider pairing with rustic wooden spoons or elegant metal cutlery to elevate the dining experience. Display your handmade bowl as a statement piece on an open shelf or table centerpiece – a conversation starter infused with your artistic energy.
| Nutritional Info (per bowl) | Calories | Protein | Carbs | Fat |
|---|---|---|---|---|
| Material Weight (clay) | ~2100 | 0g | 0g | 0g |
| Glaze Coverage | Minimal | 0g | 0g | 0g |

For further insight on material choices and shaping strategies, visit our Advanced Ceramics Techniques guide. Expand your knowledge with trusted ceramics resources from the American Pottery Association for expert advice on clay bodies and firing processes.
Q&A
Q&A: Crafting the Perfect Bowl: Your Ultimate Building Guide
Q1: What’s the first step in crafting the perfect bowl?
A1: Like any great adventure, every perfect bowl begins with a strong foundation-choose the right material. Whether you’re drawn to the rustic charm of wood, the sleekness of ceramic, or the durability of stoneware, your material will shape the journey and the final masterpiece.
Q2: How do I select the ideal shape and size?
A2: Imagine your bowl’s purpose. Are you crafting a cozy soup vessel, a vibrant salad bowl, or an elegant fruit centerpiece? The shape follows function: deeper curves for soups, wide and shallow for salads, lofty and open for displays. Size matters too-think about portion and presentation, then let creativity guide your hands.
Q3: What tools are essential for bowl crafting?
A3: You’ll need a trusty wheel if you’re turning clay, carving tools for wood, or molding kits for certain materials. Don’t forget sandpaper for smoothing, glazes or finishes for protection and flair, and a keen eye for detail-your best tool of all.
Q4: How important is symmetry and balance in a bowl?
A4: Symmetry isn’t just about aesthetics; it influences usability. A perfectly balanced bowl sits steady, feels comfortable in hand, and elevates the dining experience. But a touch of asymmetry can add character-balance your design dreams with practical grace.
Q5: Can I add personal artistic touches?
A5: Absolutely! Intricate patterns, vibrant colors, or subtle textures personalize your bowl and tell your story. Whether you paint delicate flowers, carve geometric lines, or embed natural elements, your bowl becomes a functional canvas of creativity.
Q6: How do I ensure durability and longevity?
A6: Finish strong. Use quality sealants or glazes to protect against moisture and wear. Consider firing ceramics at the right temperature or using food-safe finishes on wood. With a little care, your bowl will serve not just meals but memories for years to come.
Q7: What are common pitfalls to avoid in bowl crafting?
A7: Rushing through drying or firing processes can cause cracks, uneven thickness leads to imbalance, and ignoring ergonomics results in awkward handling. Patience, attention to detail, and a love for the craft are your shields against these pitfalls.
Q8: Where can beginners find inspiration and learning resources?
A8: Dive into pottery studios, woodworking workshops, or online communities like YouTube tutorials and artisan forums. Books, local classes, and even museum collections offer endless inspiration-a treasure trove waiting to ignite your creativity.
Crafting the perfect bowl is both an art and a science-a dance between form and function, tradition and innovation. With this guide, you’re well on your way to creating not just a bowl, but a beloved heirloom. Happy crafting!
Key Takeaways
As you embark on your journey to craft the perfect bowl, remember that each curve, contour, and finish reflects not just skill, but passion and purpose. This ultimate building guide has equipped you with the tools and techniques to transform raw materials into a masterpiece that marries form and function. Whether for savoring your favorite meal or as a centerpiece that sparks conversation, your handcrafted bowl will carry the story of dedication and creativity. So gather your materials, trust your instincts, and let every turn of the wheel bring you closer to that flawless creation-because the perfect bowl isn’t just made; it’s thoughtfully crafted, one step at a time.

