There’s something undeniably irresistible about biting into a piece of crispy fried chicken-the satisfying crackle, the golden crust that shatters with every crunch, and the juicy tenderness that lies beneath. But achieving that perfect balance between a crunchy exterior and succulent interior isn’t just luck; it’s a carefully guarded art form. In this article, we’ll unveil the secrets behind mastering the ultimate crispy chicken fry-techniques, ingredients, and tips that transform ordinary chicken into a masterpiece of texture and flavor. Whether you’re a home cook aiming to elevate your dinner game or a foodie obsessed with all things fried, get ready to unlock the crunch that will have everyone asking for seconds.
Crispy Chicken Fry Secrets: Mastering the Perfect Crunch
Unlocking the mystery behind the ultimate crispy chicken fry secrets: mastering the perfect crunch starts with understanding the balance between science and art. From the choice of chicken cuts to the delicate interplay of marinades, coating, and frying techniques, this guide will inspire you to create irresistibly crunchy, juicy chicken bites that sing with flavor and texture.
Prep and Cook Time
- Preparation: 45 minutes (including marinade time)
- Cooking: 20 minutes
- Total Time: 65 minutes
Yield
Serves 4 hungry food lovers
Difficulty Level
Medium – Perfect for home cooks ready to elevate their fried chicken game
Ingredients
- 2 lbs bone-in, skin-on chicken thighs or drumsticks (for maximum juiciness and crisp)
- 1 cup buttermilk (for tenderizing and moisture)
- 1 tablespoon kosher salt
- 1 teaspoon freshly ground black pepper
- 1 teaspoon smoked paprika (adds gentle smoke and color)
- 1 teaspoon garlic powder
- 1 teaspoon onion powder
- 2 cups all-purpose flour, sifted
- 1 tablespoon cornstarch (key to crispy coating)
- 1 teaspoon baking powder (to lift and crackle the crust)
- Vegetable oil for frying (enough for deep frying)
Instructions
- Marinate the chicken: In a large bowl, combine the buttermilk, kosher salt, black pepper, smoked paprika, garlic powder, and onion powder. Submerge the chicken pieces fully and refrigerate for at least 4 hours, preferably overnight. This process tenderizes the meat while infusing deep flavor.
- Prepare the coating: In a separate large bowl, whisk together the sifted flour, cornstarch, and baking powder. The cornstarch reduces moisture absorption, while the baking powder creates a light, crackling crust once fried.
- Coat the chicken: Remove each piece of chicken from the marinade, allowing excess to drip off. Dredge thoroughly in the flour mixture, pressing lightly to form an even, thick coating. Set aside on a rack to rest for 10 minutes; this helps the crust adhere and become crispier.
- Heat the oil: Fill a deep, heavy-bottomed skillet or Dutch oven with vegetable oil, covering about 3 inches in depth. Heat to a steady 350°F (175°C) using a thermometer for precision. Maintaining temperature is vital-too hot burns the coating, too low makes it soggy.
- Fry in batches: Carefully lower chicken into the hot oil without overcrowding. Fry each batch for 12-15 minutes, turning occasionally to ensure even golden brown crust and full doneness. The internal temperature should reach 165°F (74°C).
- Drain and rest: Transfer fried chicken to a wire rack placed over a baking sheet to drain excess oil and stay crisp. Avoid paper towels, which can trap steam and soften the crust.
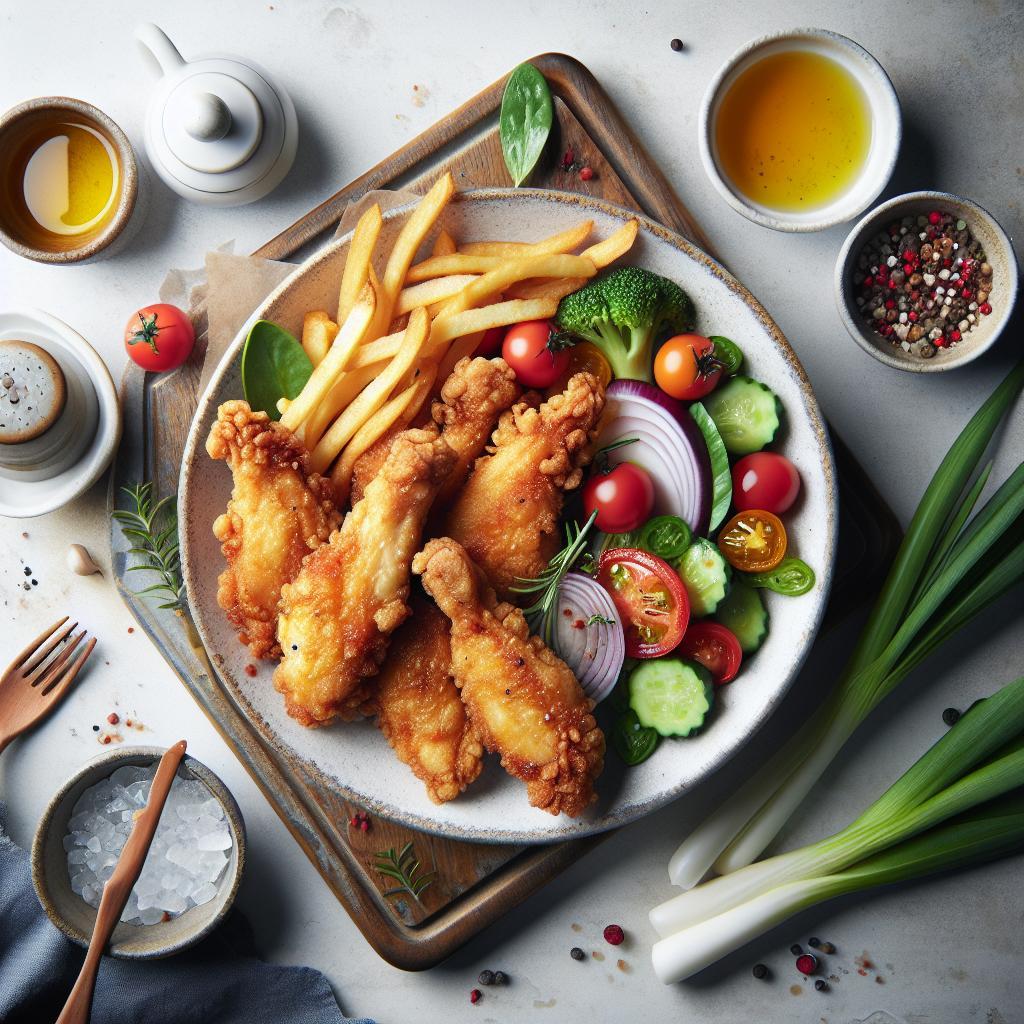
- Serve immediately: Enjoy piping hot fried chicken for that unbeatable crunch and juicy interior.
Chef’s Notes: Tips for Success
- Chicken Cuts: Using bone-in, skin-on cuts such as thighs or drums ensures juicy meat and a satisfying textural contrast with the crisp crust.
- Marinade Time: Don’t rush the buttermilk soak-longer marination breaks down proteins, guaranteeing moisture retention inside your crunchy shell.
- Coating Science: Cornstarch and baking powder are your secret weapons. Cornstarch limits gluten formation for lightness, while baking powder aerates the crust making it shatteringly crisp.
- Temperature Control: Invest in a reliable deep-fry thermometer. Hot oil at 350°F cooks the chicken thoroughly without oil absorption, creating that coveted crispy crunch.
- Rest Between Coating and Frying: Letting the coated pieces rest helps the batter “set,” significantly improving adherence and final texture.
- Batch Frying: Overcrowding the pan drops oil temperature; keep batches small to maintain consistent crispiness.
Serving Suggestions
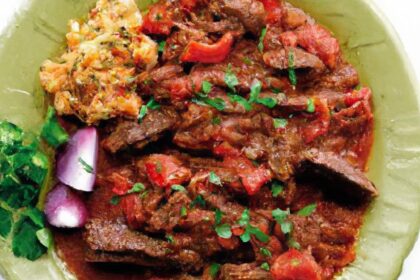
Plate your crispy chicken fry secrets masterpiece alongside freshly made coleslaw or a tangy pickle salad to cut through the richness. Garnish with freshly chopped parsley or chives for a pop of color and herbaceous brightness. For a comforting, complete meal, serve with fluffy mashed potatoes drizzled with a robust mushroom gravy or buttery corn on the cob.
| Nutrition per Serving | Amount |
|---|---|
| Calories | 450 kcal |
| Protein | 38 g |
| Carbohydrates | 20 g |
| Fat | 22 g |

Discover more tips and tricks for creating golden, crunchy delights in our Ultimate Fried Chicken Guide. For deeper insights on frying science, check out this Serious Eats article on frying techniques.
Q&A
Q&A: Crispy Chicken Fry Secrets – Mastering the Perfect Crunch
Q1: What’s the key to achieving that irresistible crunch in fried chicken?
A1: The magic lies in the coating and moisture balance. Using a combination of flour, cornstarch, or even rice flour creates a light but sturdy exterior. Double dredging-dipping the chicken first in seasoned flour, then in buttermilk or a wet batter, and back to flour-builds layers that crisp beautifully. Ensuring the chicken is patted dry before coating also prevents sogginess.
Q2: How important is marinating the chicken before frying?
A2: Marination is a game-changer! It infuses flavor and keeps the meat juicy inside the crispy shell. A simple buttermilk soak not only tenderizes the chicken but also adds a slight tang. You can amplify it with spices like paprika, garlic powder, and cayenne to layer flavor beneath the crunch.
Q3: What frying oil works best for that golden crisp?
A3: Oils with high smoke points, such as vegetable oil, canola oil, or peanut oil, are perfect. They tolerate high temperatures without breaking down, allowing the chicken to fry evenly and develop a deep golden crust. Fresh oil and proper temperature control are crucial to prevent greasy or burnt coatings.
Q4: How can I tell when the oil is at the right temperature for frying?
A4: Aim for around 350°F to 375°F (175°C to 190°C). Use a kitchen thermometer if you have one. Alternatively, you can drop a small pinch of flour into the oil-if it sizzles and rises immediately, you’re ready. Too hot? The crust will burn before the inside cooks; too cool? The coating absorbs oil and becomes soggy.
Q5: Is it better to fry chicken pieces whole or to cut them into smaller parts?
A5: Smaller pieces cook more evenly and crisp up faster, but large bone-in pieces, like thighs or drumsticks, develop great flavor as the bone distributes heat. Whatever size you prefer, maintain consistent sizes for even frying, and give them enough spacing in the pan to avoid steaming.
Q6: Can I achieve crispiness without deep frying?
A6: Absolutely! Pan frying with less oil works if you turn pieces frequently, and oven-frying or air frying are excellent modern alternatives. For oven crisp, bake on a wire rack to allow air circulation, and spray the coated chicken lightly with oil to mimic the frying effect.
Q7: What finishing touches elevate crispy fried chicken?
A7: A sprinkle of flaky sea salt or a dusting of your favorite spice blend right out of the fryer enhances texture and layers of taste. For an extra crunch punch, add crushed cornflakes or panko to your coating mixture. Rest the fried chicken on a wire rack-not paper towels-to maintain that crisp exterior.
Q8: How do I store leftover fried chicken while keeping it crispy?
A8: Let the chicken cool uncovered at room temperature briefly to prevent steam softening the crust. Store in an airtight container lined with paper towels to absorb moisture. When reheating, use the oven or air fryer to regain crispiness instead of the microwave, which tends to make the crust soggy.
Master these pointers, and your kitchen will be filled with the aroma of perfectly crunchy fried chicken – tender, flavorful, and gloriously crispy every single time!
Insights and Conclusions
As the final sizzle settles and the irresistible aroma of golden, crispy chicken fills your kitchen, you now hold the keys to mastering that perfect crunch. Armed with these secrets-from the ideal marinade to the exact frying technique-you’re ready to transform everyday chicken into a mouthwatering masterpiece. Remember, achieving that flawless crisp is a blend of art, science, and a little bit of love. So go ahead, experiment boldly, and let each bite transport you to crispy chicken nirvana. Your journey to frying perfection has only just begun!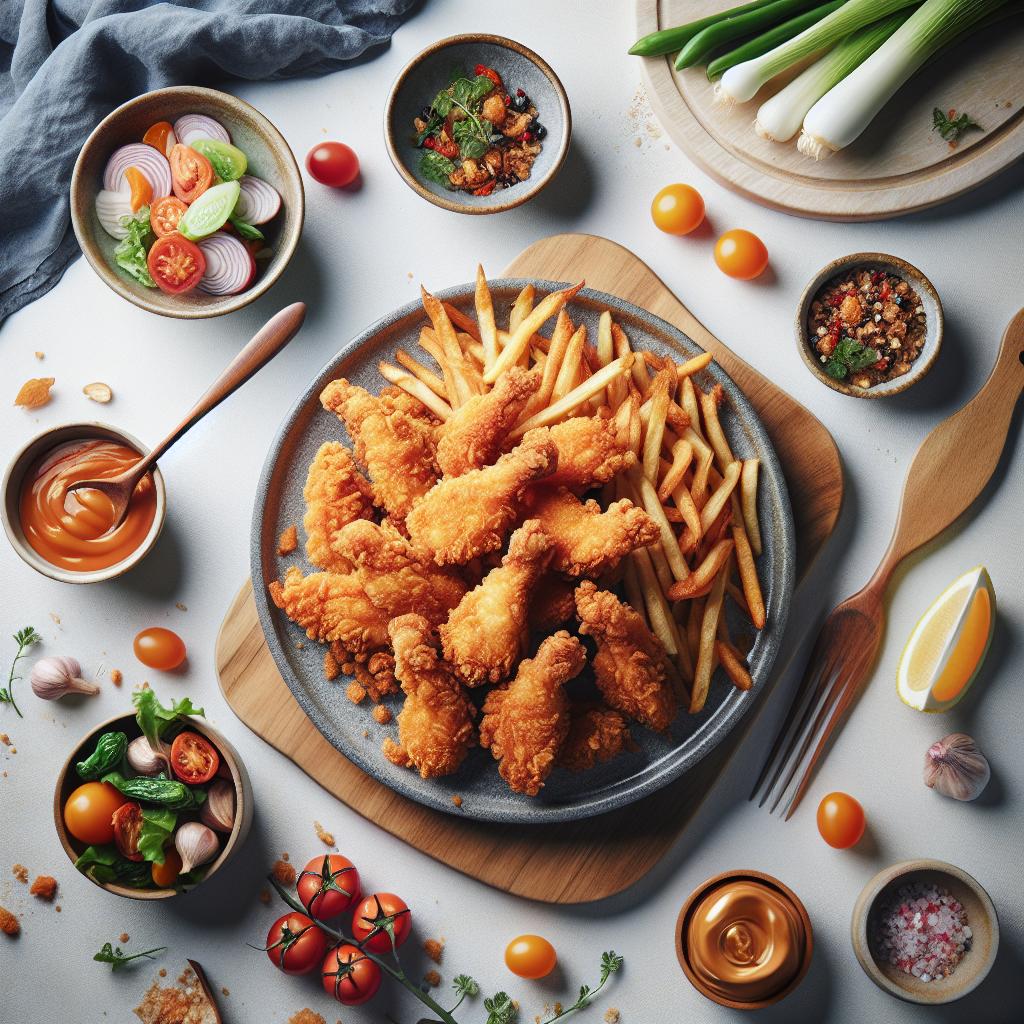


