There’s something undeniably magical about biting into a perfectly cooked ear of corn on the cob-juicy kernels bursting with sweetness, kissed by a subtle hint of char, and slathered in your favorite melt-in-your-mouth seasoning. But what if you could capture that blissful experience every day of the week? Welcome to your ultimate guide to mastering corn on the cob, where simple prep tips transform this humble summer staple into a versatile, flavorful star on your dining table. From selecting the freshest ears to innovative storage hacks and seasoning secrets, get ready to elevate your corn game and savor mouthwatering bites for days on end.
Mastering Corn on the Cob starts with selecting the freshest ears and perfect timing to harvest for ultimate sweetness. Nothing compares to biting into corn that bursts with natural sugary juices, a result of careful selection and precise preparation. Whether sourced from a farmer’s market or your backyard patch, picking corn at peak ripeness ensures each bite is tender and vibrant. The ideal harvest moment is when silk strands darken but remain moist, and kernels feel plump to the touch. Early morning harvesting captures peak sweetness, as sugars degrade with heat throughout the day.
Prep and Cook Time
- Preparation: 10 minutes
- Cooking: 15 minutes
- Total Time: 25 minutes
Yield
Serves 4 people – ideal for sharing or meal prepping to enjoy corn on the cob all week long.
Difficulty Level
Easy: Perfect for beginners and seasoned cooks looking to elevate a classic summer staple.
Ingredients
- 4 ears of fresh sweet corn, husked and cleaned
- 3 tablespoons unsalted butter, melted
- 1 teaspoon smoked paprika
- 1 teaspoon garlic powder
- ½ teaspoon ground cumin
- Salt and freshly cracked black pepper to taste
- Fresh chopped cilantro or parsley for garnish
- Optional: Crumbled cotija cheese or a squeeze of lime juice
Instructions
- Choose and prepare: Select ears of corn where kernels are fully rounded but tightly packed. Snap off any lingering silk and remove all husk layers gently to avoid damaging kernels.
- Preheat your grill or stovetop pan: Medium-high heat is best for evenly caramelizing the corn’s natural sugars without burning.
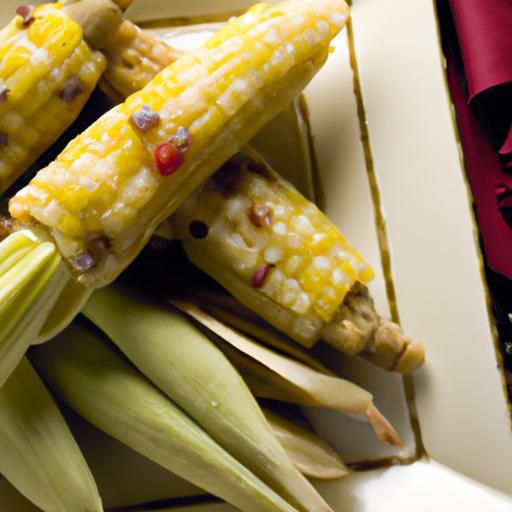
- Season the corn: Brush each ear generously with melted butter. In a small bowl, combine smoked paprika, garlic powder, cumin, salt, and pepper. Sprinkle this seasoning blend evenly over every side of the corn for a rich, smoky flavor.
- Cook the corn: Place corn directly on the hot grill or pan. Turn every 2-3 minutes until kernels are lightly charred and caramelized, about 12-15 minutes total. Rotate regularly to avoid hot spots and ensure even cooking.
- Rest and garnish: Remove from heat and allow to cool for 2 minutes. Sprinkle fresh herbs and optional cotija cheese or a spritz of lime juice to brighten flavors instantly.
Tips for Success
- For maximum sweetness, avoid buying corn with dry or brittle silks; they indicate old or past-peak corn.
- If grilling isn’t an option, steaming preserves moisture and sugars-cover ears tightly with foil and steam for 10 minutes.
- Try swapping smoked paprika for chili powder and lime zest for an exciting twist.
- Use leftover corn kernels in salads or corn fritters for extended use throughout your meal prep week.
- To prep ahead, coat and grill corn then refrigerate in airtight containers. Reheat gently on a skillet or in the microwave before serving.
Serving Suggestions
Serve your beautifully caramelized corn on the cob with a sprinkle of sea salt and a pat of compound butter (mixed with herbs or hot sauce). Pair with grilled meats or fresh summer salads for a vibrant outdoor meal. A side of zesty guacamole and tortilla chips turns this into a festive, colorful feast. For parties, stack corn vertically in a rustic basket lined with parchment paper and provide an array of seasoning blends for guests to customize each ear.
| Nutrient | Per Serving (1 ear) |
|---|---|
| Calories | 150 kcal |
| Protein | 4 g |
| Carbohydrates | 30 g |
| Fat | 6 g |
Explore more grilling tips for your favorite vegetables and try advanced flavor layers next season. For comprehensive insights on corn sweetening during harvest, visit the Agriculture Online guide to corn harvesting.

Q&A
Q&A: Mastering Corn on the Cob – Prep Tips for a Week of Flavor
Q1: Why should I consider prepping corn on the cob for the entire week?
A1: Prepping corn on the cob ahead of time isn’t just a time-saver-it’s a flavor booster! By prepping in advance, the kernels have a chance to soak up marinades or seasonings, giving you vibrant, ready-to-eat corn that jazzes up every meal without the fuss.
Q2: What’s the best way to store corn on the cob so it stays fresh and tasty all week?
A2: Keep your corn fresh by snapping off the husks and blanching the cobs in boiling water for 3-5 minutes. Immediately cool them in ice water to stop cooking, then wrap them tightly in plastic wrap or airtight containers. Store in the refrigerator and enjoy that sweet, juicy crunch all week long!
Q3: Can I prepare flavored corn in advance without losing the texture?
A3: Absolutely! Lightly seasoning or buttering the corn BEFORE storage helps the flavors seep in overnight. Just avoid heavy sauces until serving to keep the texture firm and the kernels popping with freshness.
Q4: What creative flavor combos work best for prepped corn on the cob?
A4: The flavor playground is vast! Try classics like garlic herb butter or smoky chili lime. For a twist, experiment with curry-spiced oils, tangy feta and mint, or even sweet maple and cinnamon glazes. Prepping these variations ahead means your taste buds will travel the world all week.
Q5: How can I reheat corn on the cob without drying it out?
A5: Steaming is your best friend-it warms corn gently while locking in moisture. Alternatively, wrap the cob in foil and heat in the oven at 350°F (175°C) for 10-15 minutes. Microwaving wrapped in a damp paper towel is quick and keeps kernels juicy if you’re pressed for time.
Q6: Is prepping corn on the cob suitable for meal planning or packed lunches?
A6: Definitely! Prepped corn on the cob makes a crunchy, nutrient-packed side or snack that’s transportable and mess-free. Toss it with your favorite seasoning, pack it up, and you have a portable burst of summer flavor anytime, anywhere.
Q7: How do I keep prepped corn exciting, so I don’t get bored by midweek?
A7: Mix up the toppings and dips! Rotate between spicy aioli, tangy vinaigrettes, or creamy cheeses. Or-cut the kernels off and toss with salads, salsas, or into tacos. The secret to staying excited is variety and a dash of culinary adventure.
Key Takeaways
As you embark on your week-long corn adventure, remember that mastering the art of corn on the cob is less about perfection and more about exploration. With these prep tips in your culinary toolkit, each ear promises a burst of vibrant flavor, whether grilled, boiled, or roasted to golden bliss. So, stock up, get creative, and savor the simple joy of corn-because when you master the prep, every bite becomes a celebration of summer’s sweetest gift. Happy cooking!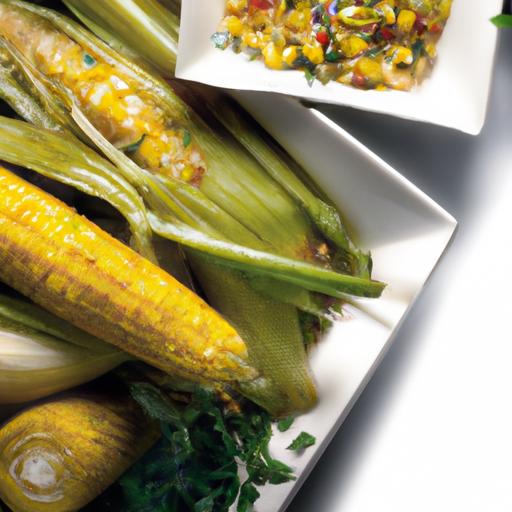
